Create and Use Link Templates

When you manage many short links, you'll often find yourself building the same routing logic over and over — the same conditions, the same split configurations, the same chain of transforms. Link Templates let you save a rule graph configuration once and reuse it across any number of links. Instead of rebuilding from scratch every time, you import a template and start with a proven setup.
This guide walks you through creating a template, managing your template library, and applying a template to a link.
Prerequisites
Before you begin, make sure you have:
- A Middlewr account (free or paid)
- A workspace where you have the Editor role or above
- Familiarity with the rule graph editor (if you're new to it, read Conditional routing: how to set up smart redirects first)
Step 1: Navigate to the Templates page
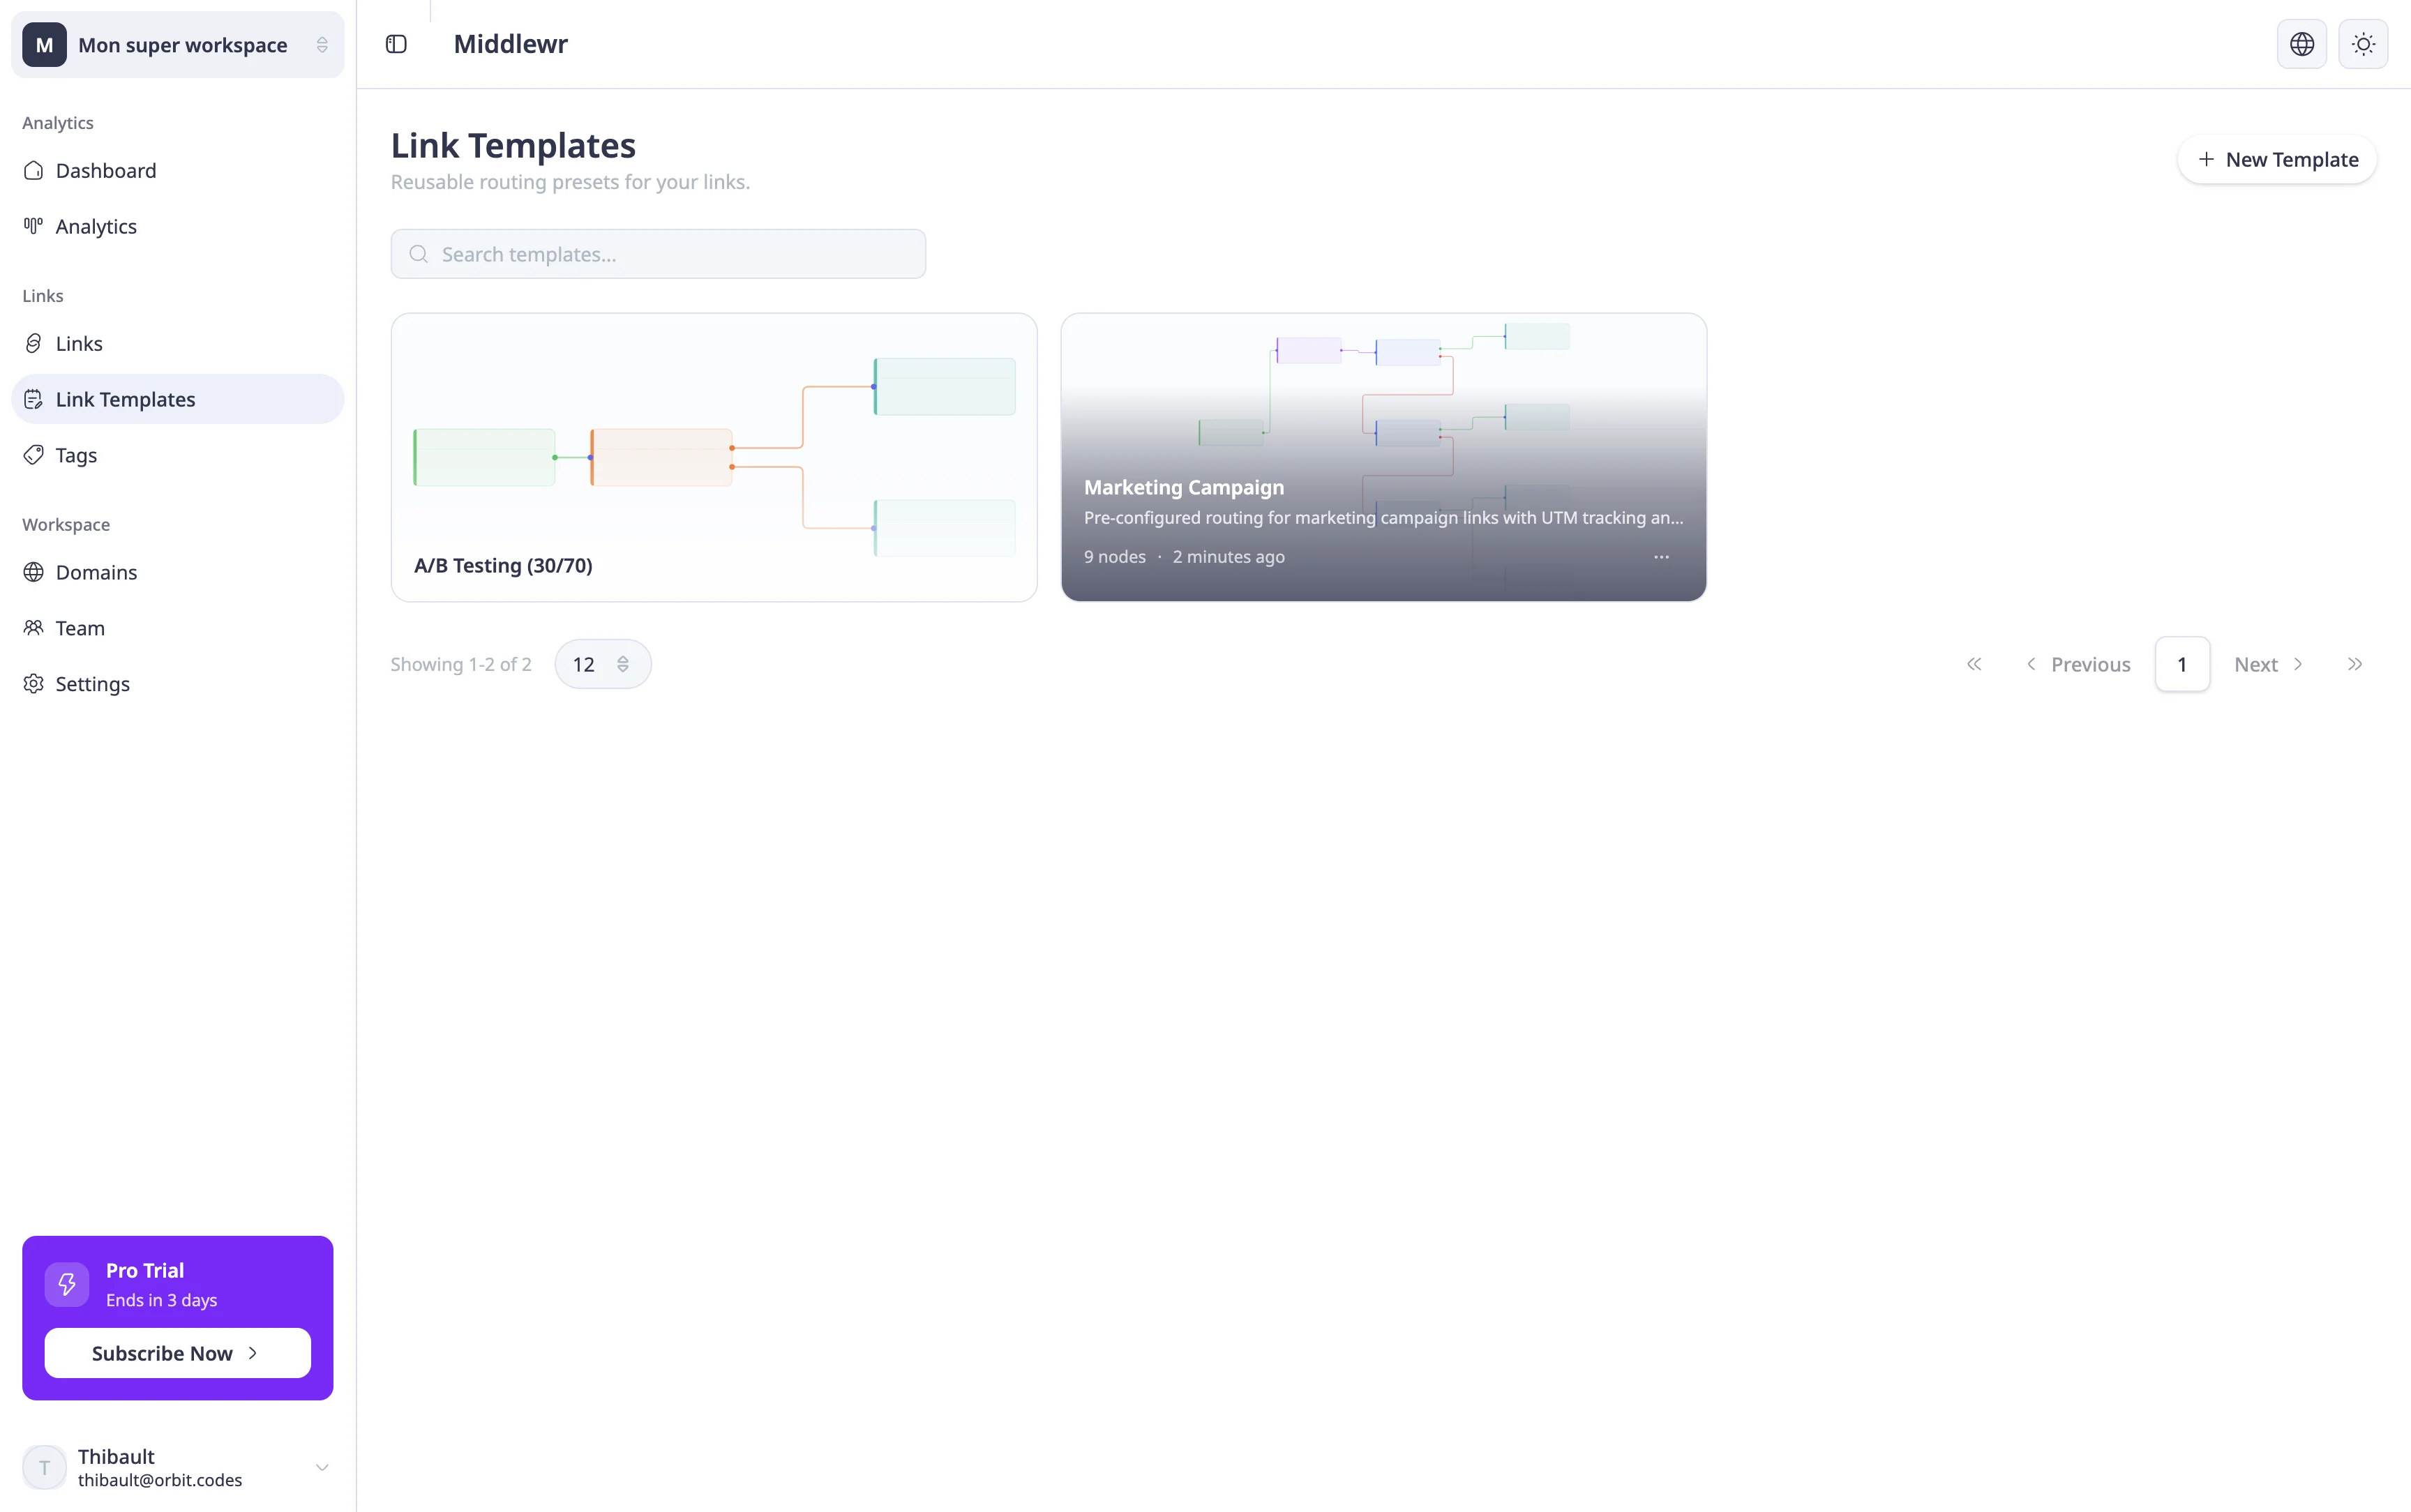
In the left sidebar, find the Links section and click Link Templates. This page is where you manage all the templates available in your workspace.
If you haven't created any templates yet, you'll see an empty state inviting you to create your first one. If templates already exist, they appear as cards in a grid view. Each card displays the template's title, description, a miniature preview of its rule graph, the number of nodes it contains, and when it was last updated. You can search templates by title using the search bar at the top.
Step 2: Create a new template
Click New Template in the top-right corner. A form appears asking for two fields:
- Title — a short, descriptive name for your template. Choose something that describes the routing pattern: "Mobile redirect", "Region-based A/B test", or "UTM-enriched campaign" all work well.
- Description (optional) — a longer explanation of what the template does and when to use it. This helps teammates understand the purpose at a glance.
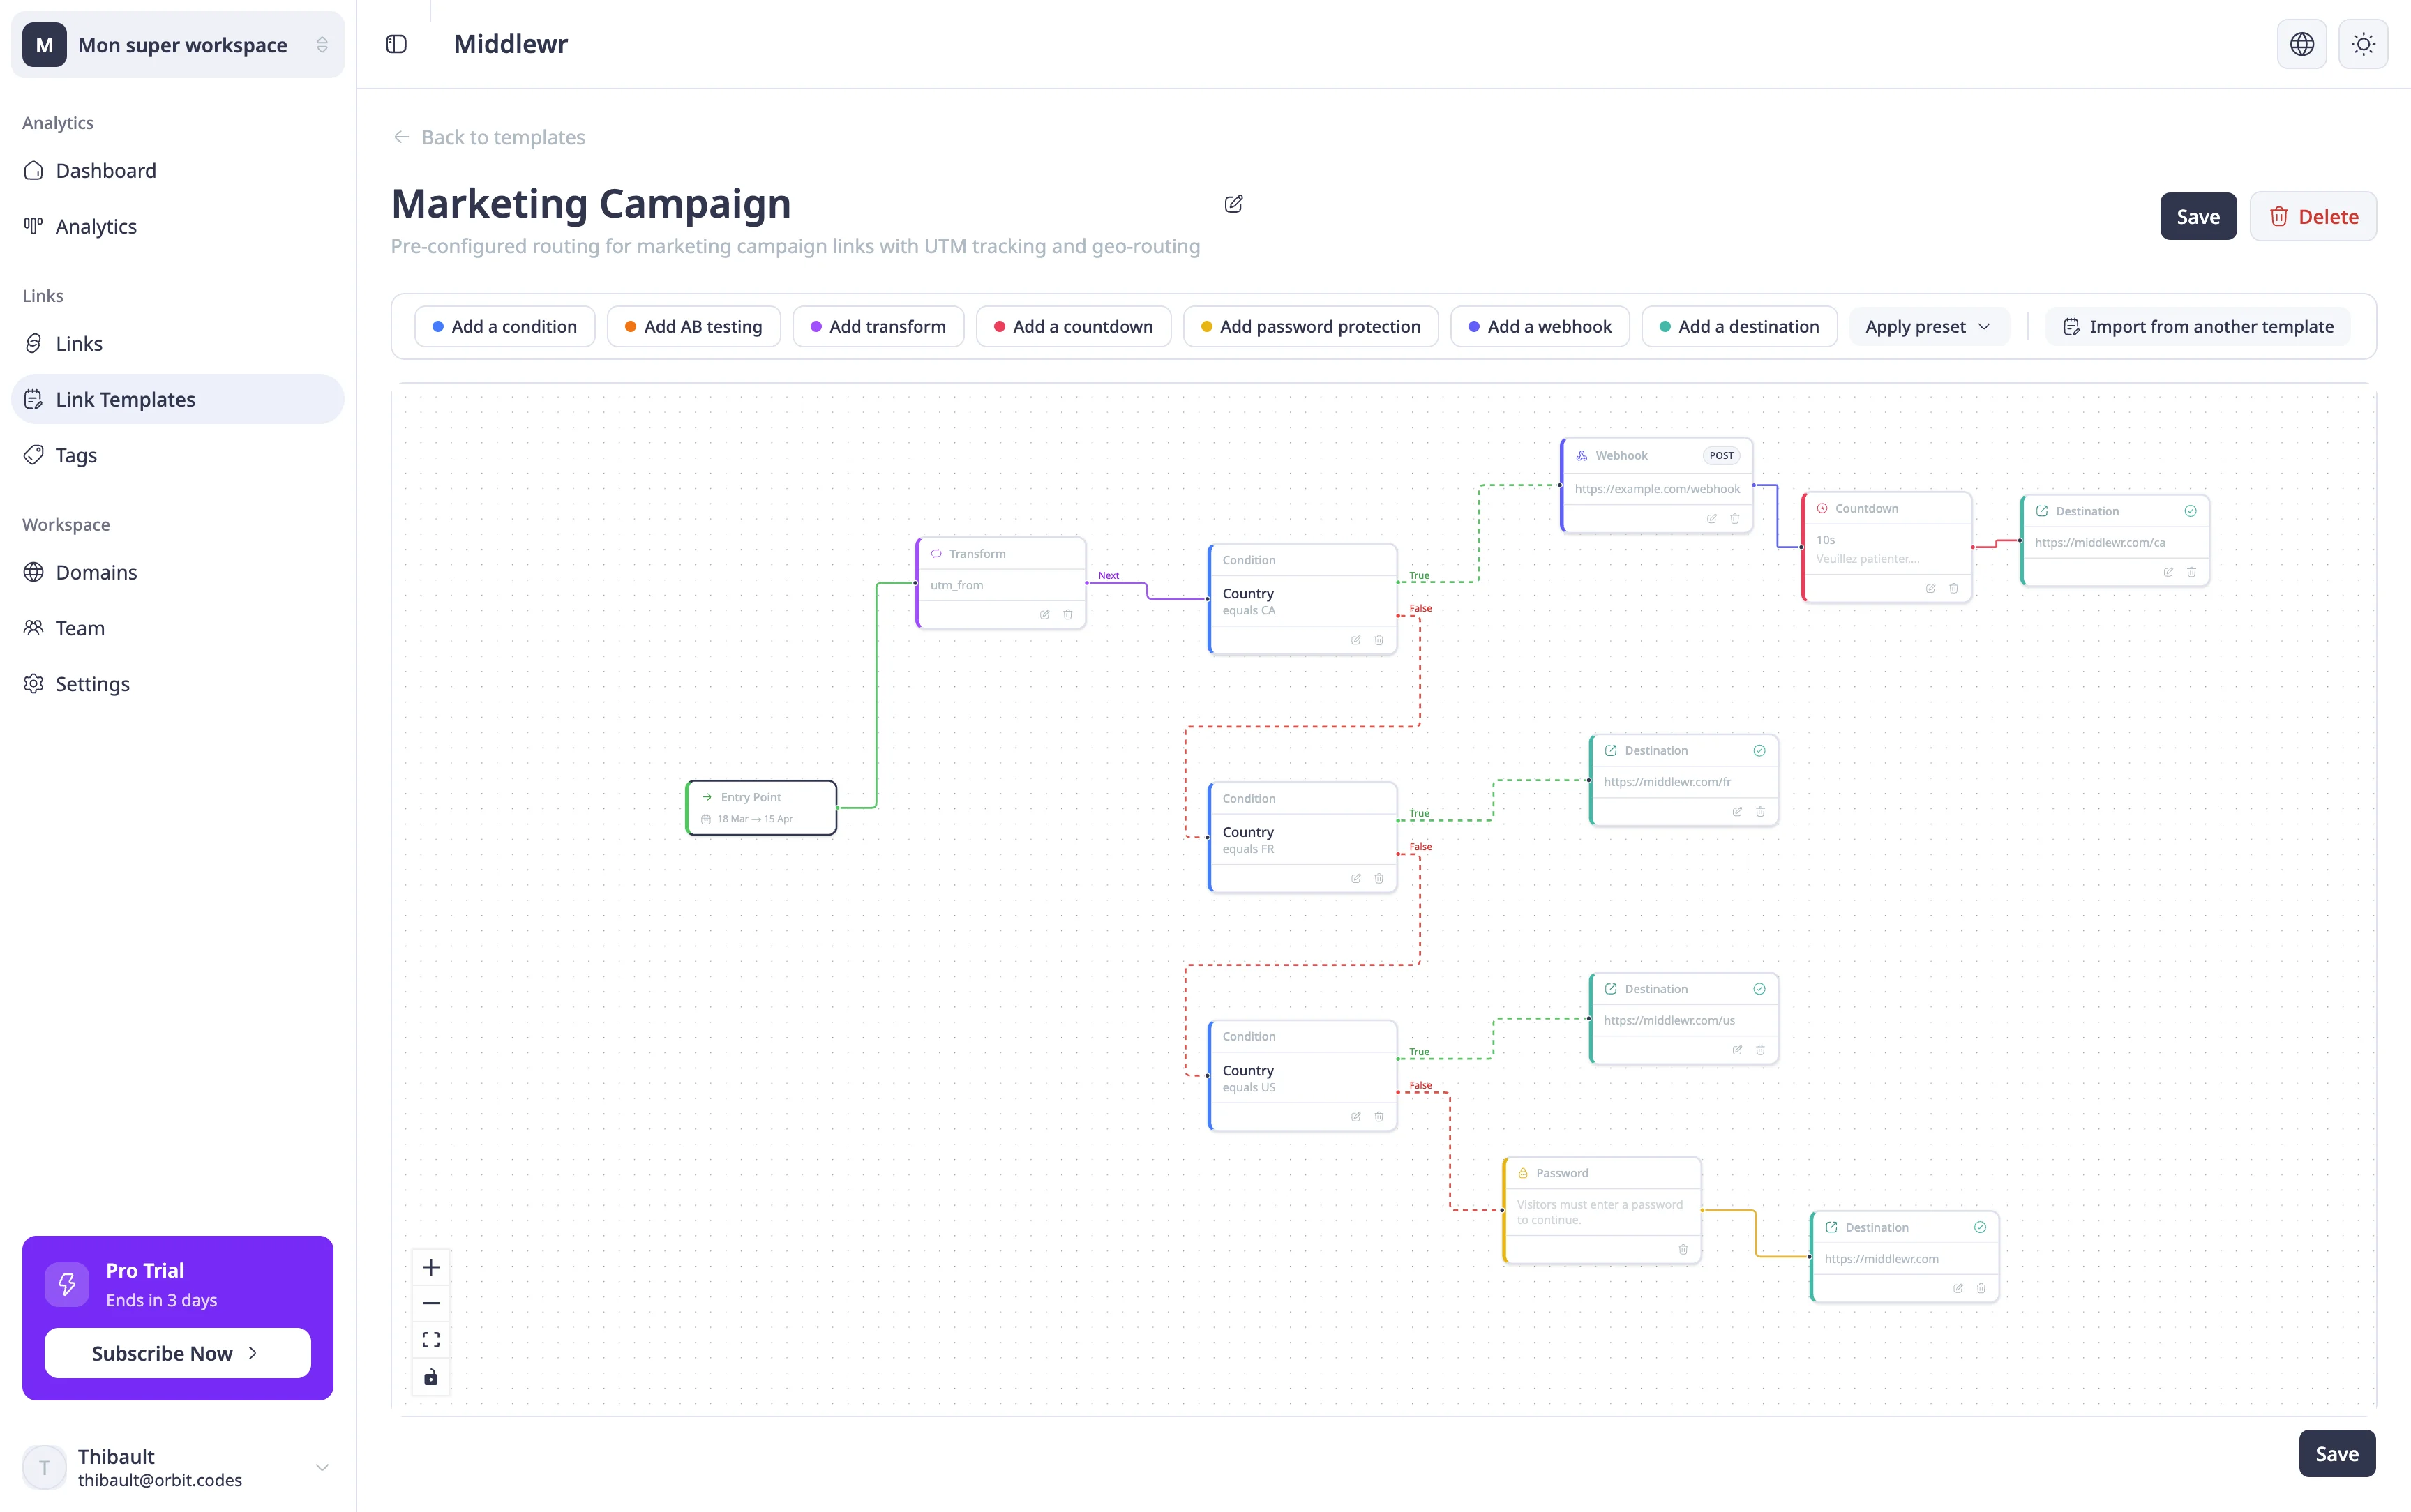
After filling in the details, click Create. This opens the template editor, which is the same visual rule graph canvas you already know from the link editor.
Design your routing logic by adding nodes from the toolbar: Entry, Condition, Destination, Split, Transform, and any other node types your plan requires. Connect them together to build the flow you want to reuse. The editor validates the graph in real time — resolve any red indicators before saving.
Once you're satisfied, click Save. Your template is now stored and ready to be applied to any link.
Step 3: Apply a template to a link
Now for the payoff. Open any link in your workspace — either an existing link or a newly created one — and navigate to its rule graph section.
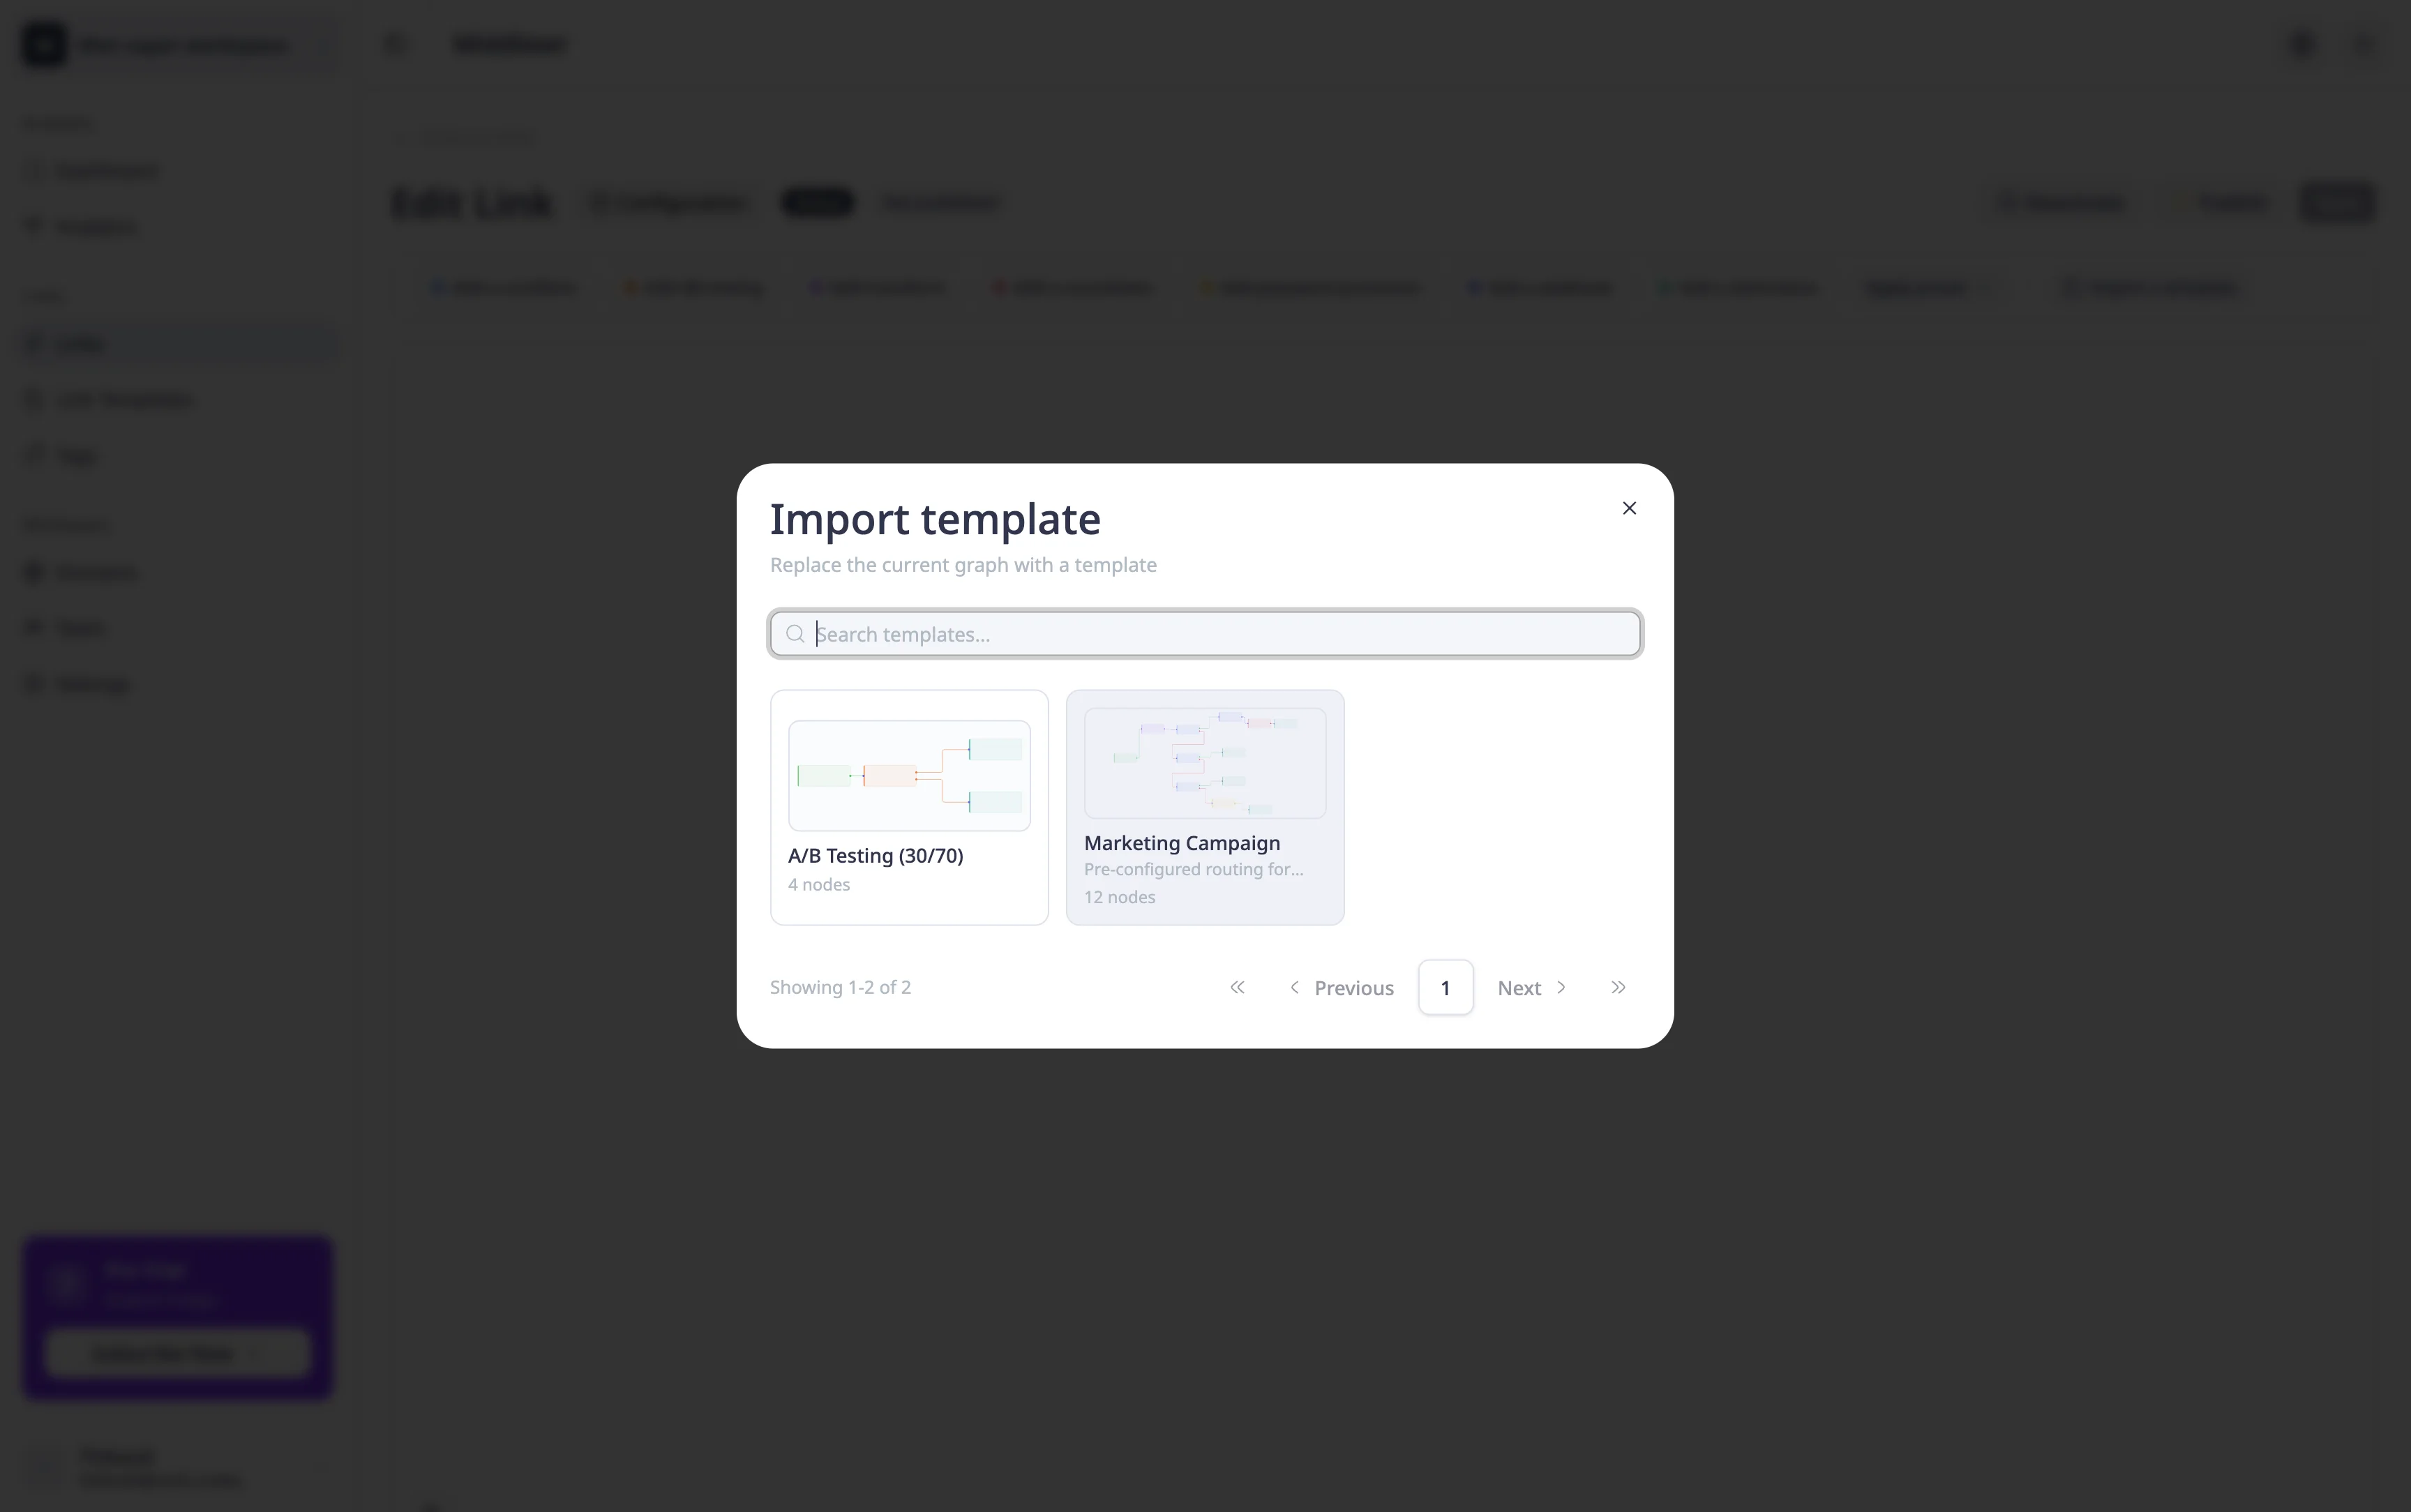
In the toolbar above the graph canvas, click Import a template. A panel appears listing all the templates in your workspace. Browse the list or use the search field to find the template you want, then select it.
The template's entire rule graph is loaded into the current link, replacing any existing graph. From here, you can customize the imported graph to fit this specific link — update destination URLs, tweak condition values, adjust split weights — without affecting the original template. The template remains unchanged in your library for future use.
Click Save on the link to apply your changes.
Tips for effective templates
- Start generic, customize per link. Design templates around routing patterns, not specific URLs. Use placeholder destinations that you swap out after importing.
- Name templates clearly. Your team will rely on titles and descriptions to pick the right template. A name like "Geo-routing EU/US" is far more useful than "Template 3".
- Iterate on templates. If you discover a better routing pattern, update the template. Future links that import it will get the improved version. Links that already imported a previous version are not affected — they keep their own copy of the graph.
Going further
- Set up conditional routing — learn the fundamentals of building rule graphs with conditions, destinations, and more
- A/B testing with split routing — distribute traffic across multiple destinations with weighted splits
- Set up UTM tracking — automatically append UTM parameters to your destination URLs using transform nodes