How to Invite and Manage Team Members

Middlewr is built for collaboration. Whether you're a marketing agency sharing a workspace with clients, a startup aligning your growth and product teams, or a company managing links across departments, Middlewr lets you bring the right people into the right workspace with exactly the access level they need. This guide walks you through inviting team members, understanding the role-based permission model, and keeping your team tidy over time.
Prerequisites
Before you begin, make sure you have:
- A Middlewr account
- The Admin role (or above) on the workspace you want to manage — you need to be able to manage members to send and revoke invitations
Step 1: Navigate to the Team page
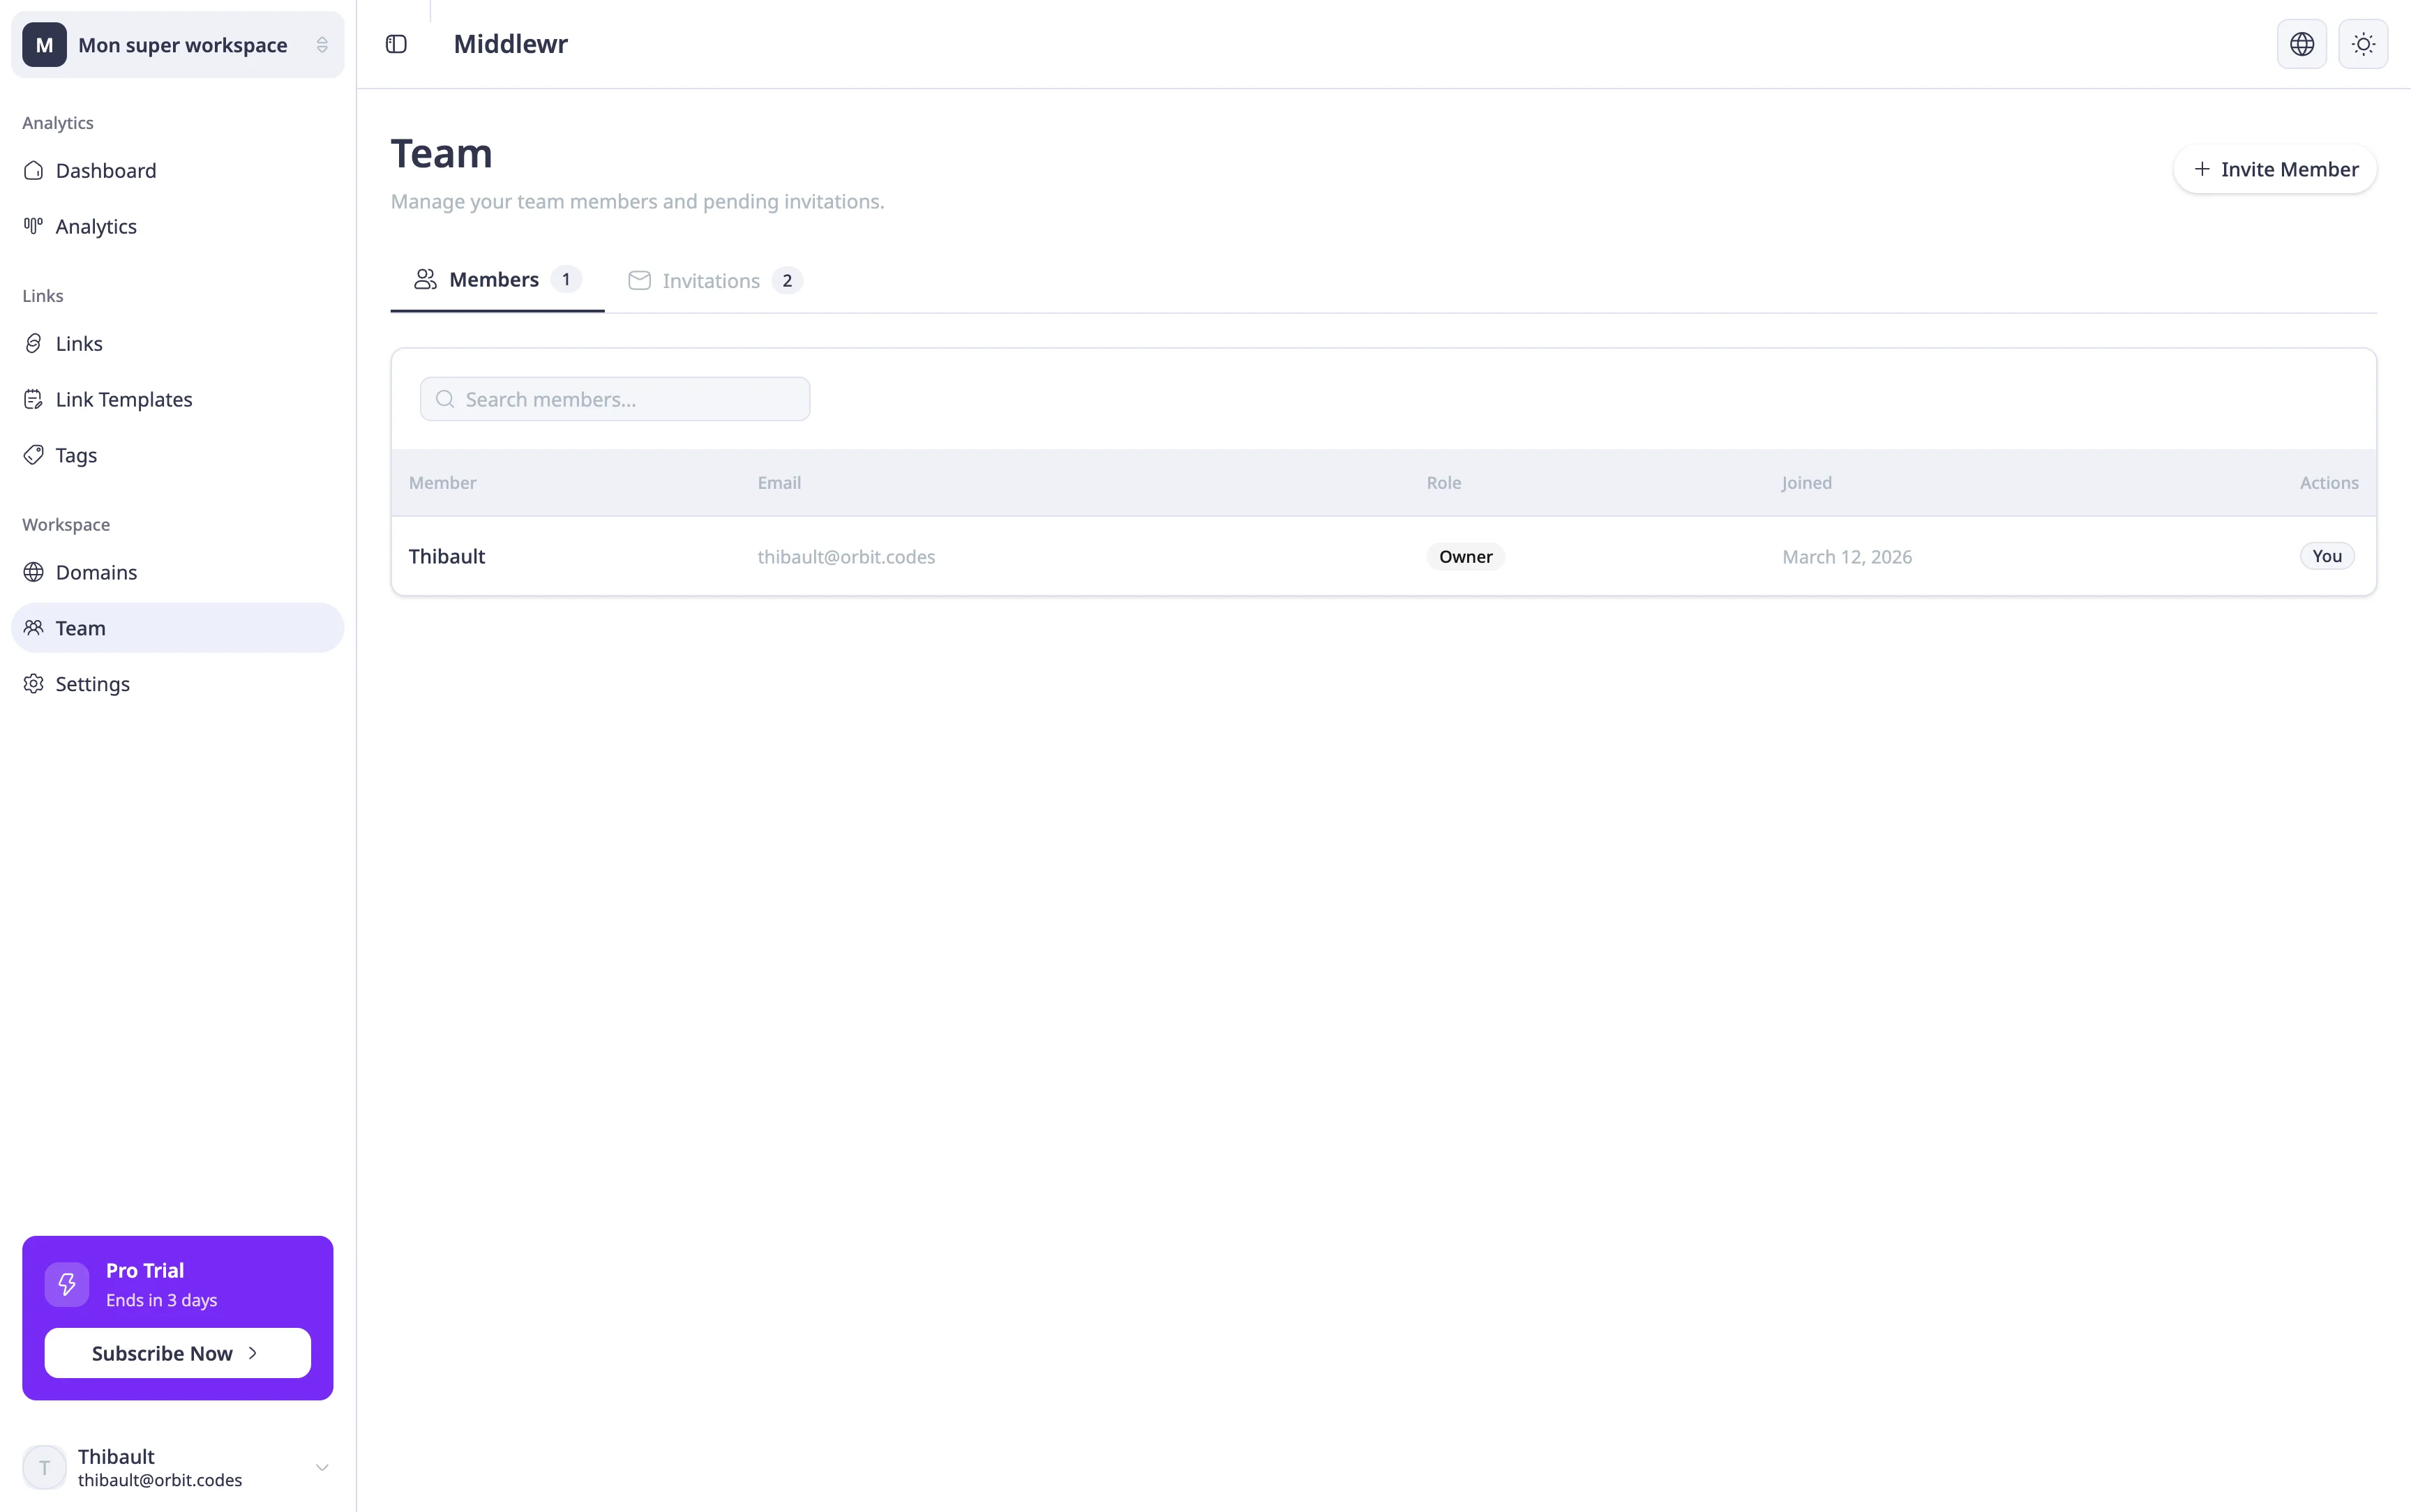
From the sidebar, find the Workspace section and click Team. This is your hub for everything related to people in your workspace.
The Team page has two tabs:
- Collaborators — lists everyone who has already accepted their invitation and is actively part of your workspace. For each member, you can see their email address, their current role, and options to update or remove them.
- Invitations — lists pending invitations that have been sent but not yet accepted. This is where you track who still needs to join, and where you can revoke an invite if needed.
Step 2: Send an invitation
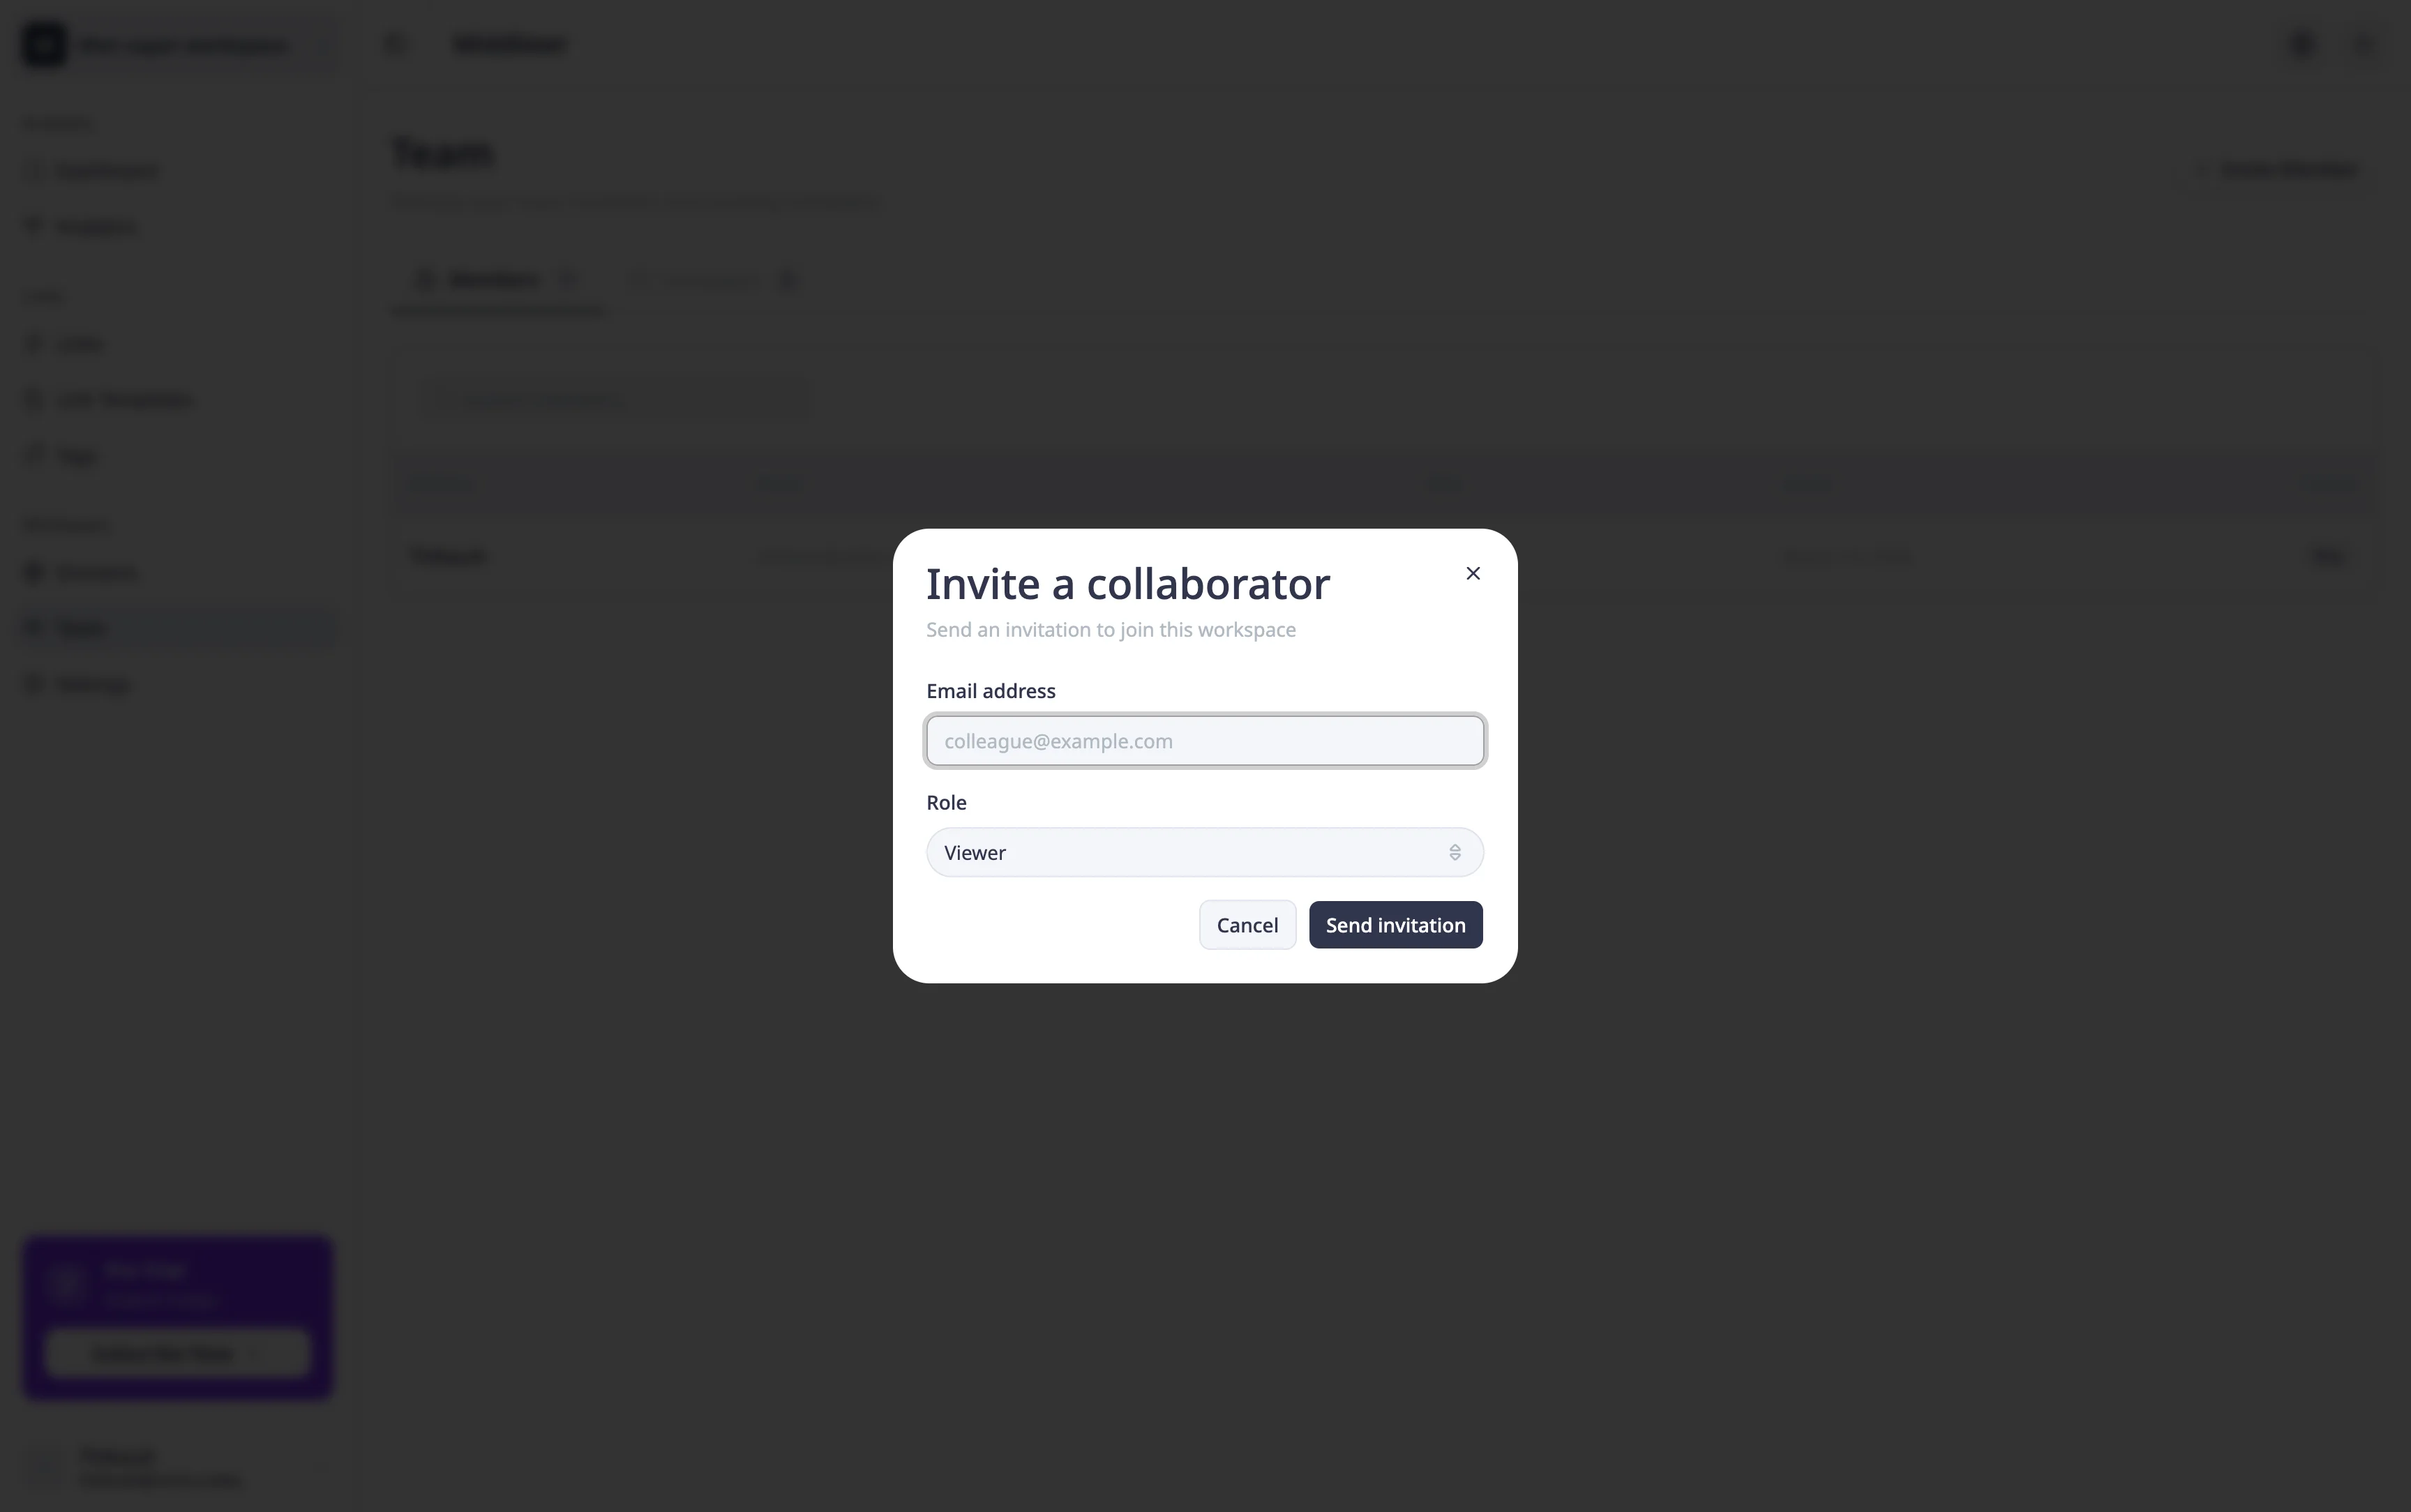
From the Collaborators tab, click Invite Member. A modal will appear asking for two things:
- Email address — Enter the email of the person you want to invite. They'll receive an email with a link to join your workspace.
- Role — Select the role for this member.
Middlewr uses a role-based permission model. When inviting someone, you assign them one of three available roles. Each role comes with a predefined set of permissions:
| Role | Description |
|---|---|
| Viewer | View workspace content. Read-only access — can browse links and analytics but cannot modify anything. |
| Editor | Create and manage links. Can create, edit, and organize links but cannot manage members or workspace settings. |
| Admin | Manage members, links, and content. Can invite/remove members and configure the workspace. |
There is also a fourth role, Owner, which grants full access to the workspace. However, the Owner role cannot be assigned via invitation — it can only be transferred to an existing member through the workspace settings.
Once you've filled in the email and selected the appropriate role, click Send Invitation.
Step 3: Track the invitation
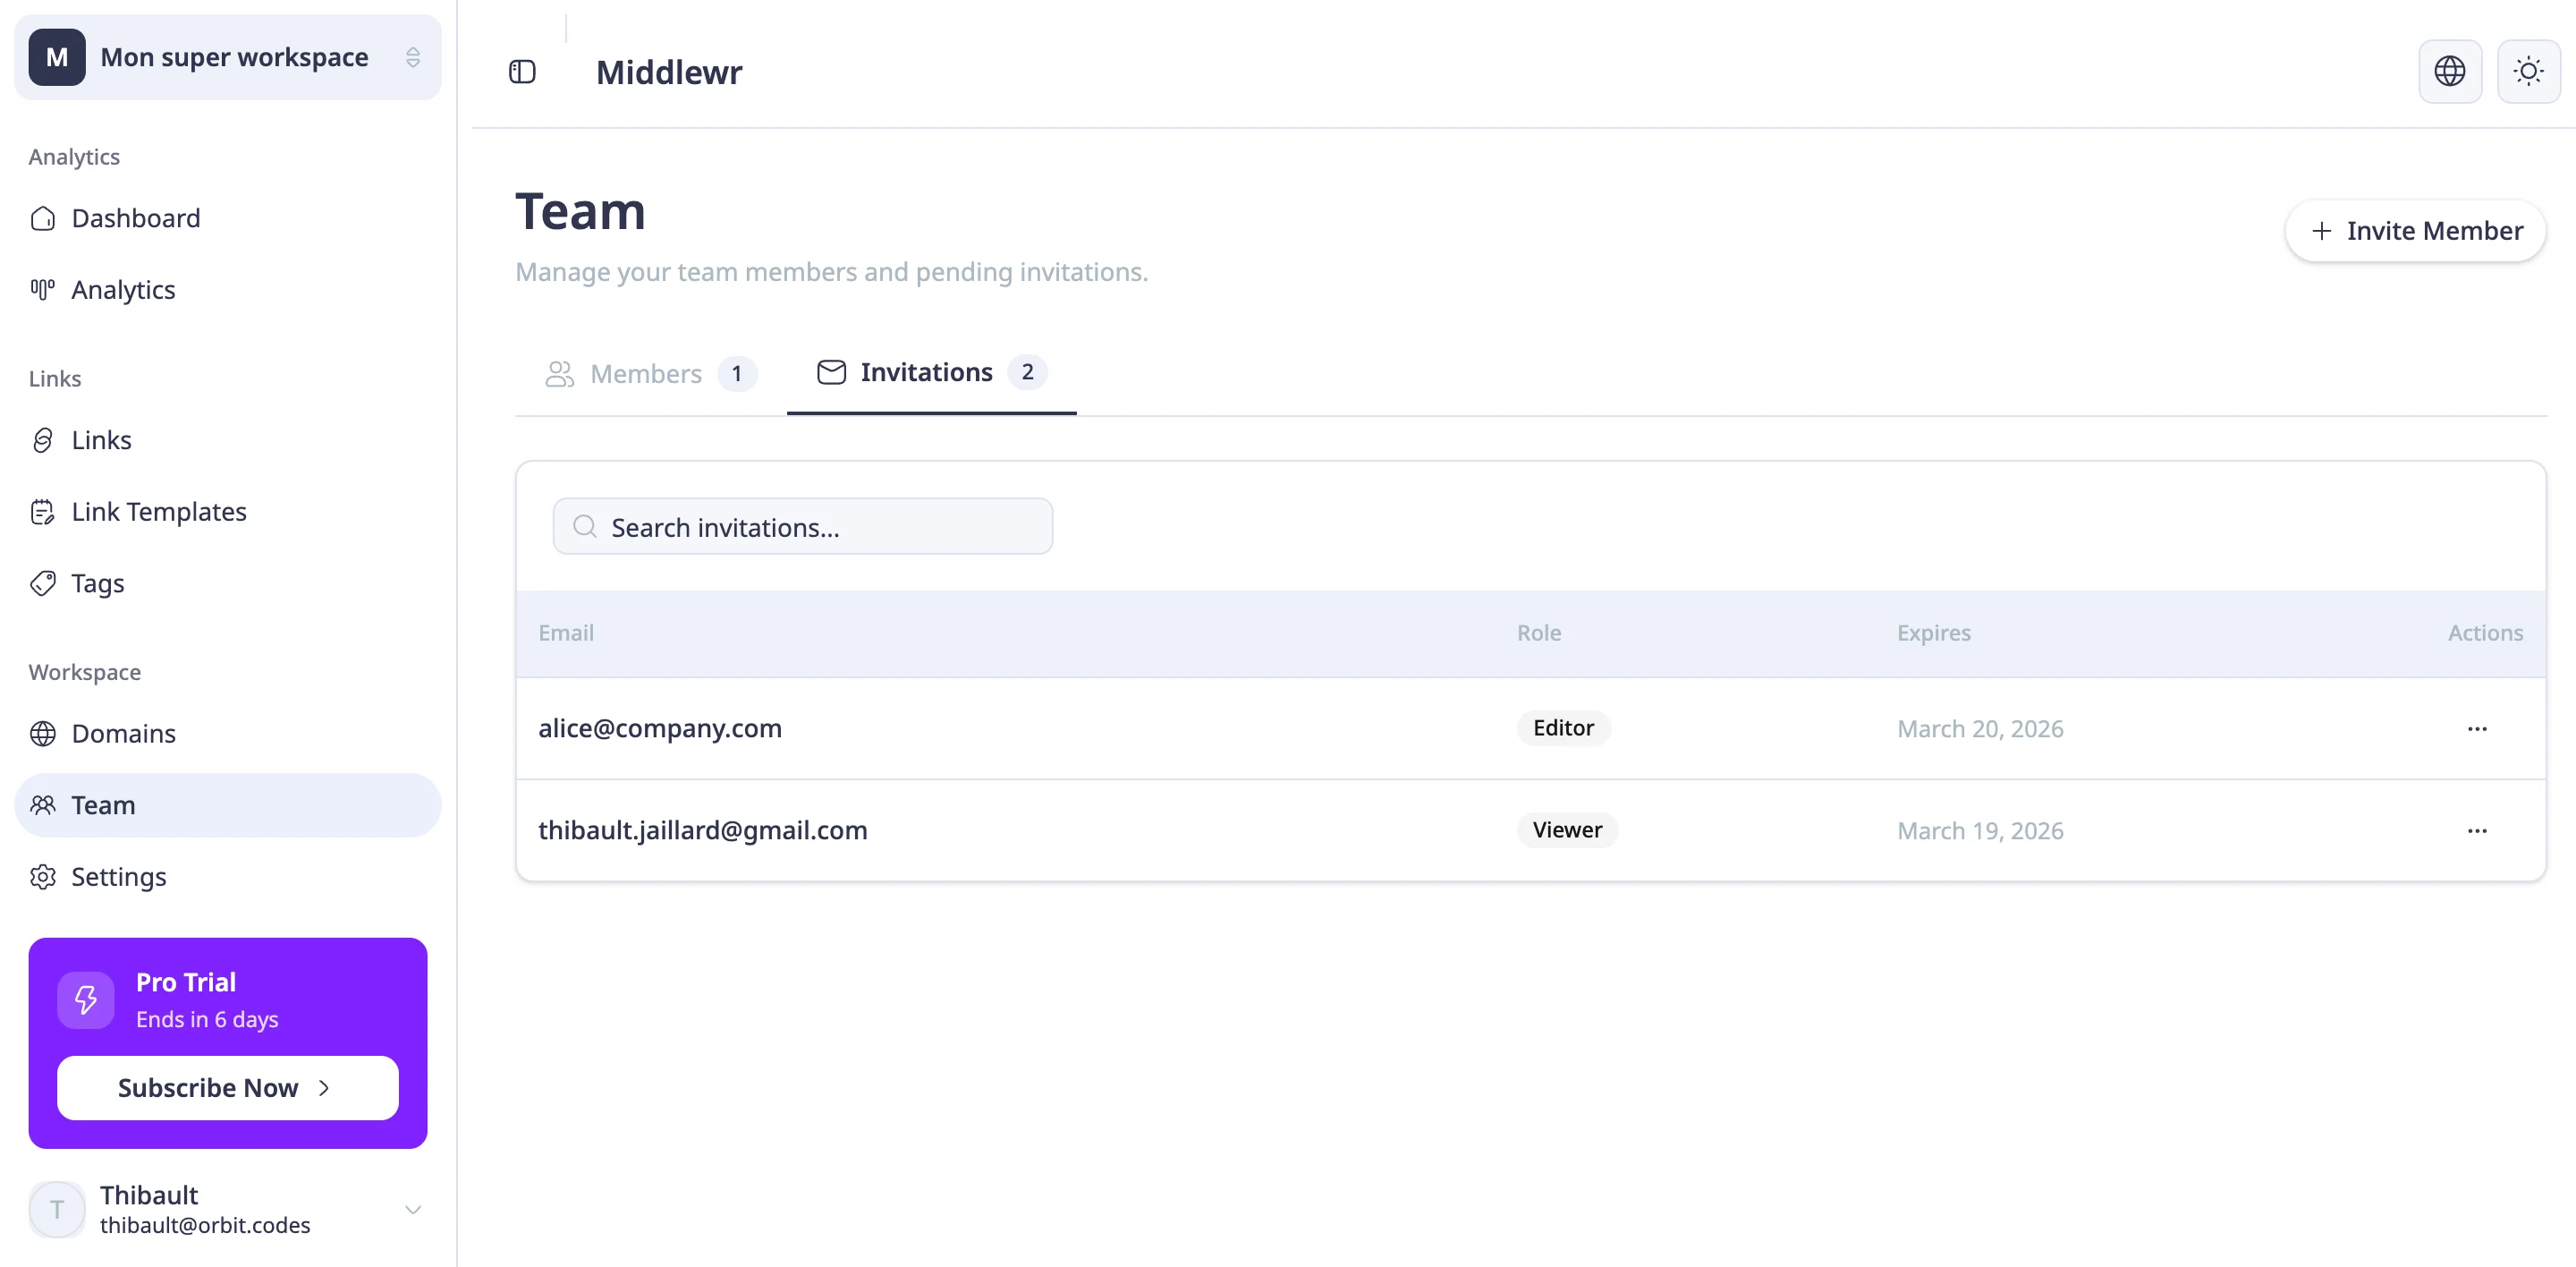
After sending, switch to the Invitations tab. You'll see the pending invitation listed with the recipient's email address, the date it was sent, and its current status.
If you made a mistake — sent it to the wrong address, or the person's role changed before they accepted — you can revoke the invitation directly from this tab. Simply click the revoke action next to the invite. The link in the original email will become invalid immediately.
Step 4: Manage active members
Once a person accepts their invitation, they move from the Invitations tab to the Collaborators tab, and they can immediately start using the workspace according to their role.
From the Collaborators tab, you can:
- Update a member's role — Click the edit action next to a member to change their role. Changes take effect immediately the next time they interact with the workspace.
- Remove a member — If someone leaves the team or no longer needs access, you can remove them from the workspace. This revokes all their access instantly and they will no longer be able to access the workspace.
Keeping your collaborator list up to date is good hygiene — it reduces security exposure and keeps your team list accurate.
Going further
Now that your team is set up, here are a few things to explore next:
- Manage billing and plans — upgrade your workspace to unlock higher link limits and additional features as your team grows
- Set up a custom domain — strengthen your brand by using your own domain for all team short links
- Create and manage API keys — automate link management across your team with API integrations