How to Set Up a Custom Domain for Your Short Links

When someone sees go.yourcompany.com/launch in a marketing email, they immediately know where they're headed — it's recognizable, trustworthy, and on-brand. Generic short URLs work, but they can look unfamiliar and even suspicious to recipients. Replacing them with a subdomain you own takes only a few minutes in Middlewr, and the credibility boost is immediate.
In this guide, we'll walk you through every step: from adding your domain in Middlewr all the way to creating your first branded link with it.
Prerequisites
Before you begin, make sure you have the following:
- A Middlewr account with at least one workspace. If you haven't signed up yet, head to middlewr.com.
- A domain you own — for example,
yourcompany.com. You can use the root domain or, more commonly, a subdomain likego.yourcompany.comorlinks.yourcompany.com. - Access to your DNS registrar — the service where you manage your domain's DNS records. This is typically the platform where you purchased the domain (Cloudflare, GoDaddy, Namecheap, Google Domains, etc.).
You don't need to be a DNS expert to follow this guide — we'll explain the concepts as we go.
Step 1: Navigate to the Domains page
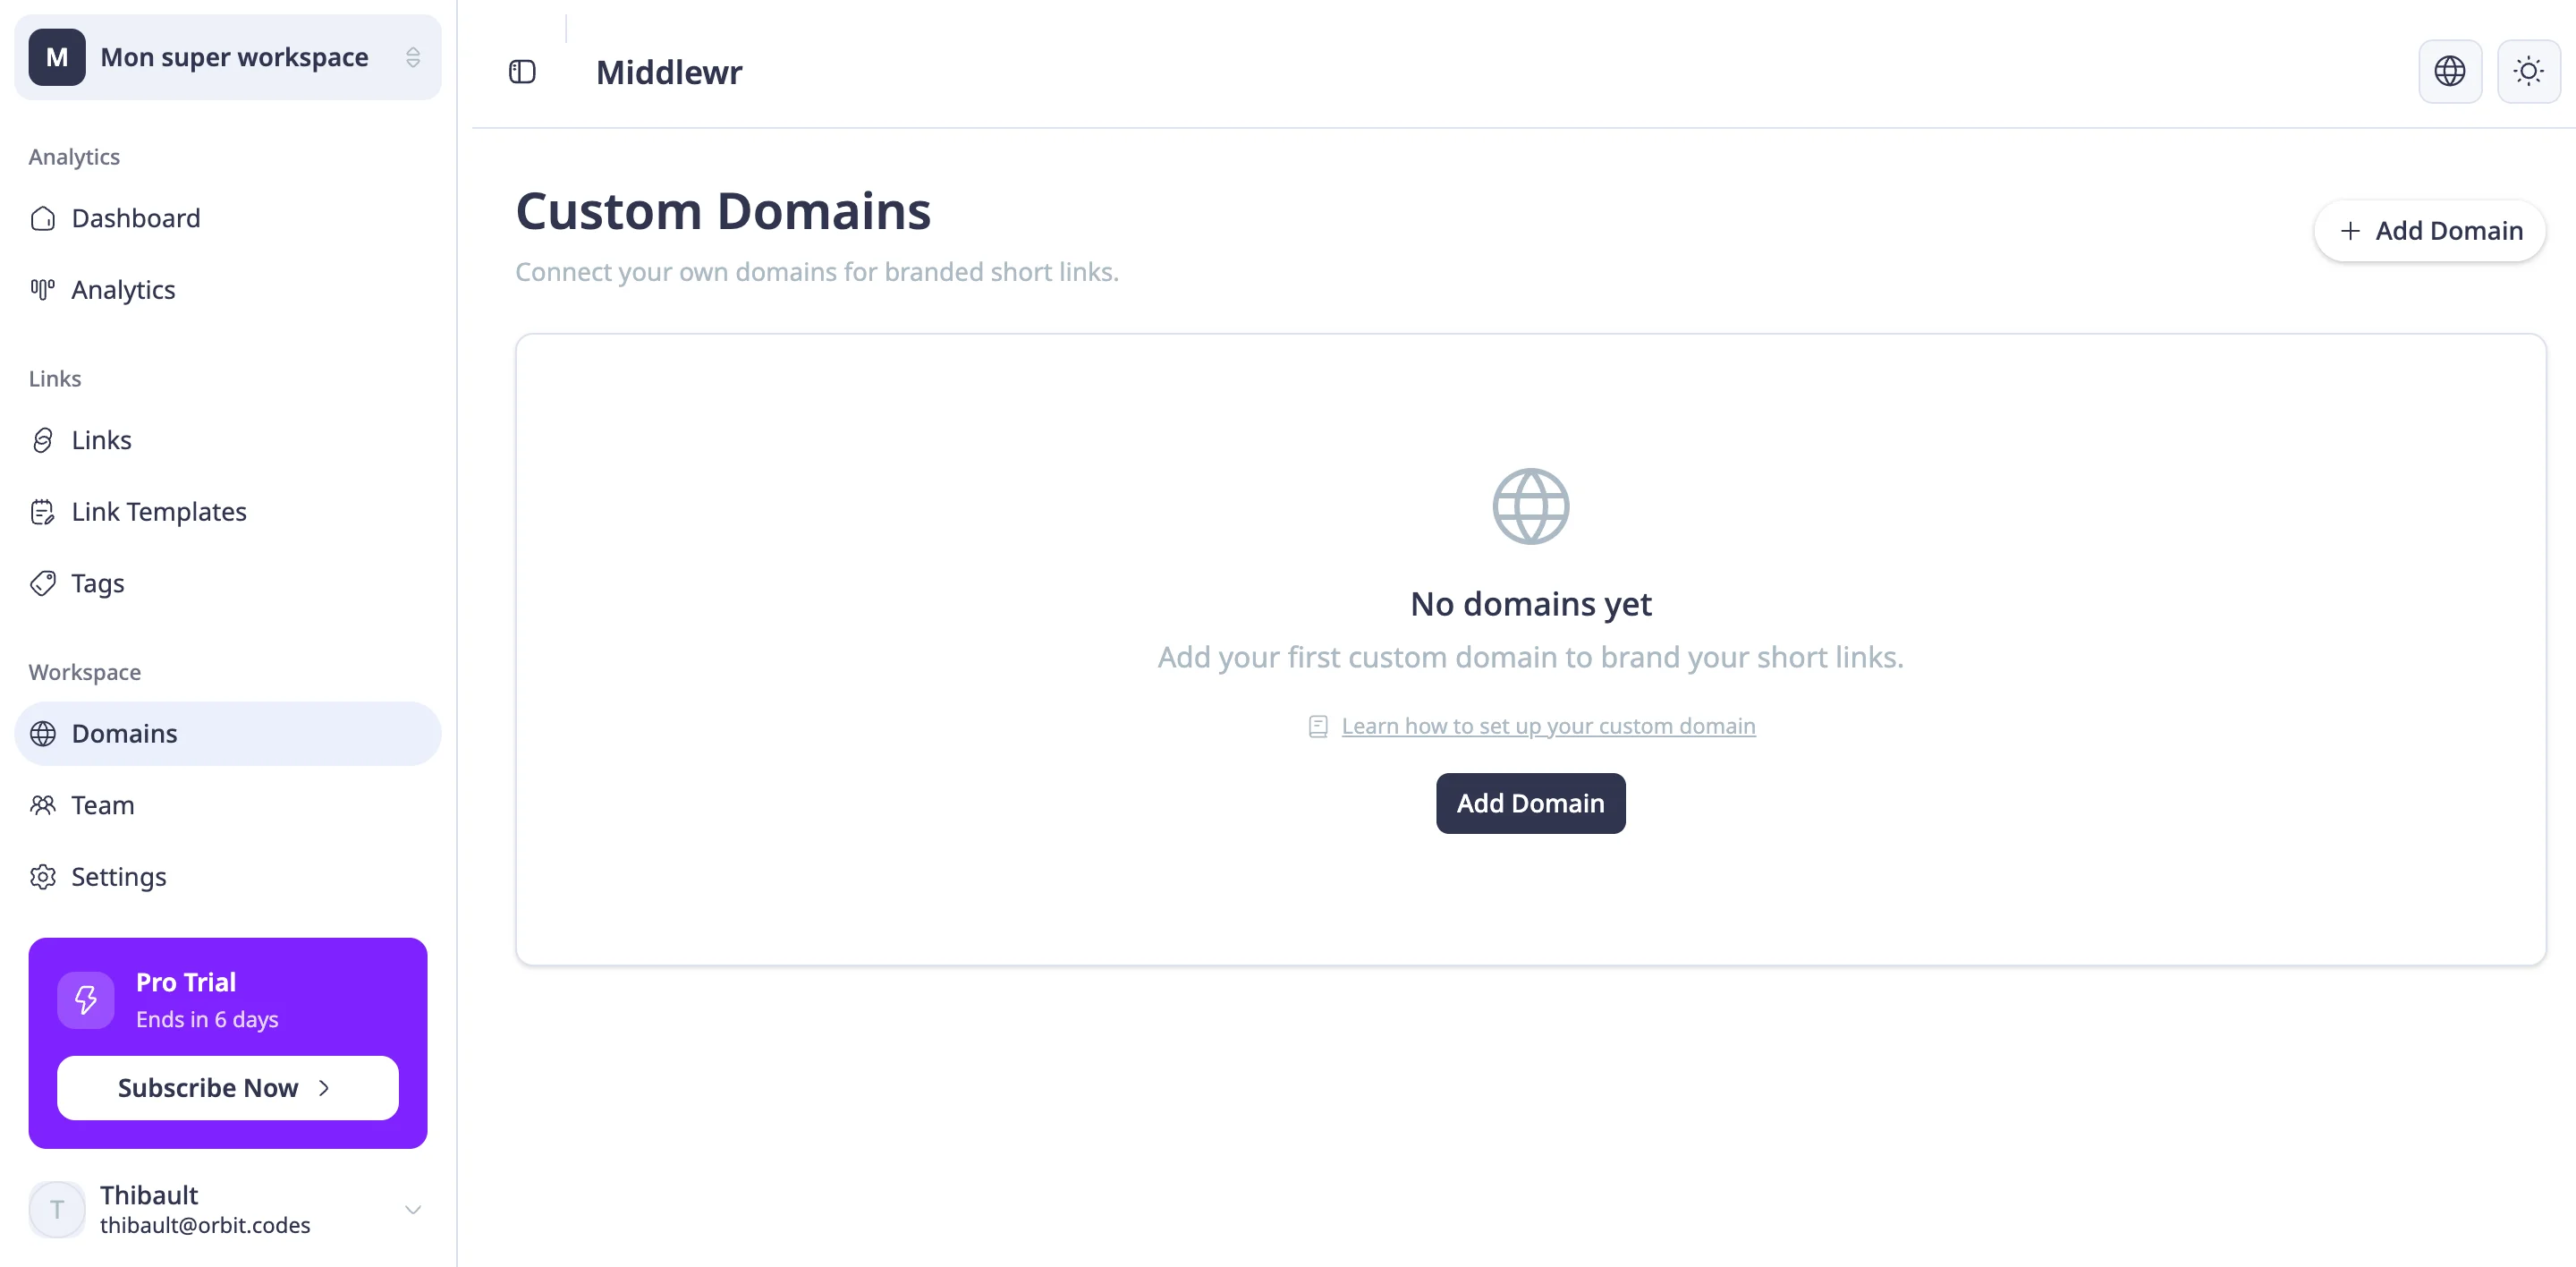
In the Middlewr sidebar, look for the Workspace section and click Domains. This page lists all the custom domains currently configured for your workspace.
If this is your first time here, you'll see an empty state — a brief message and an Add Domain button.
Step 2: Add your domain
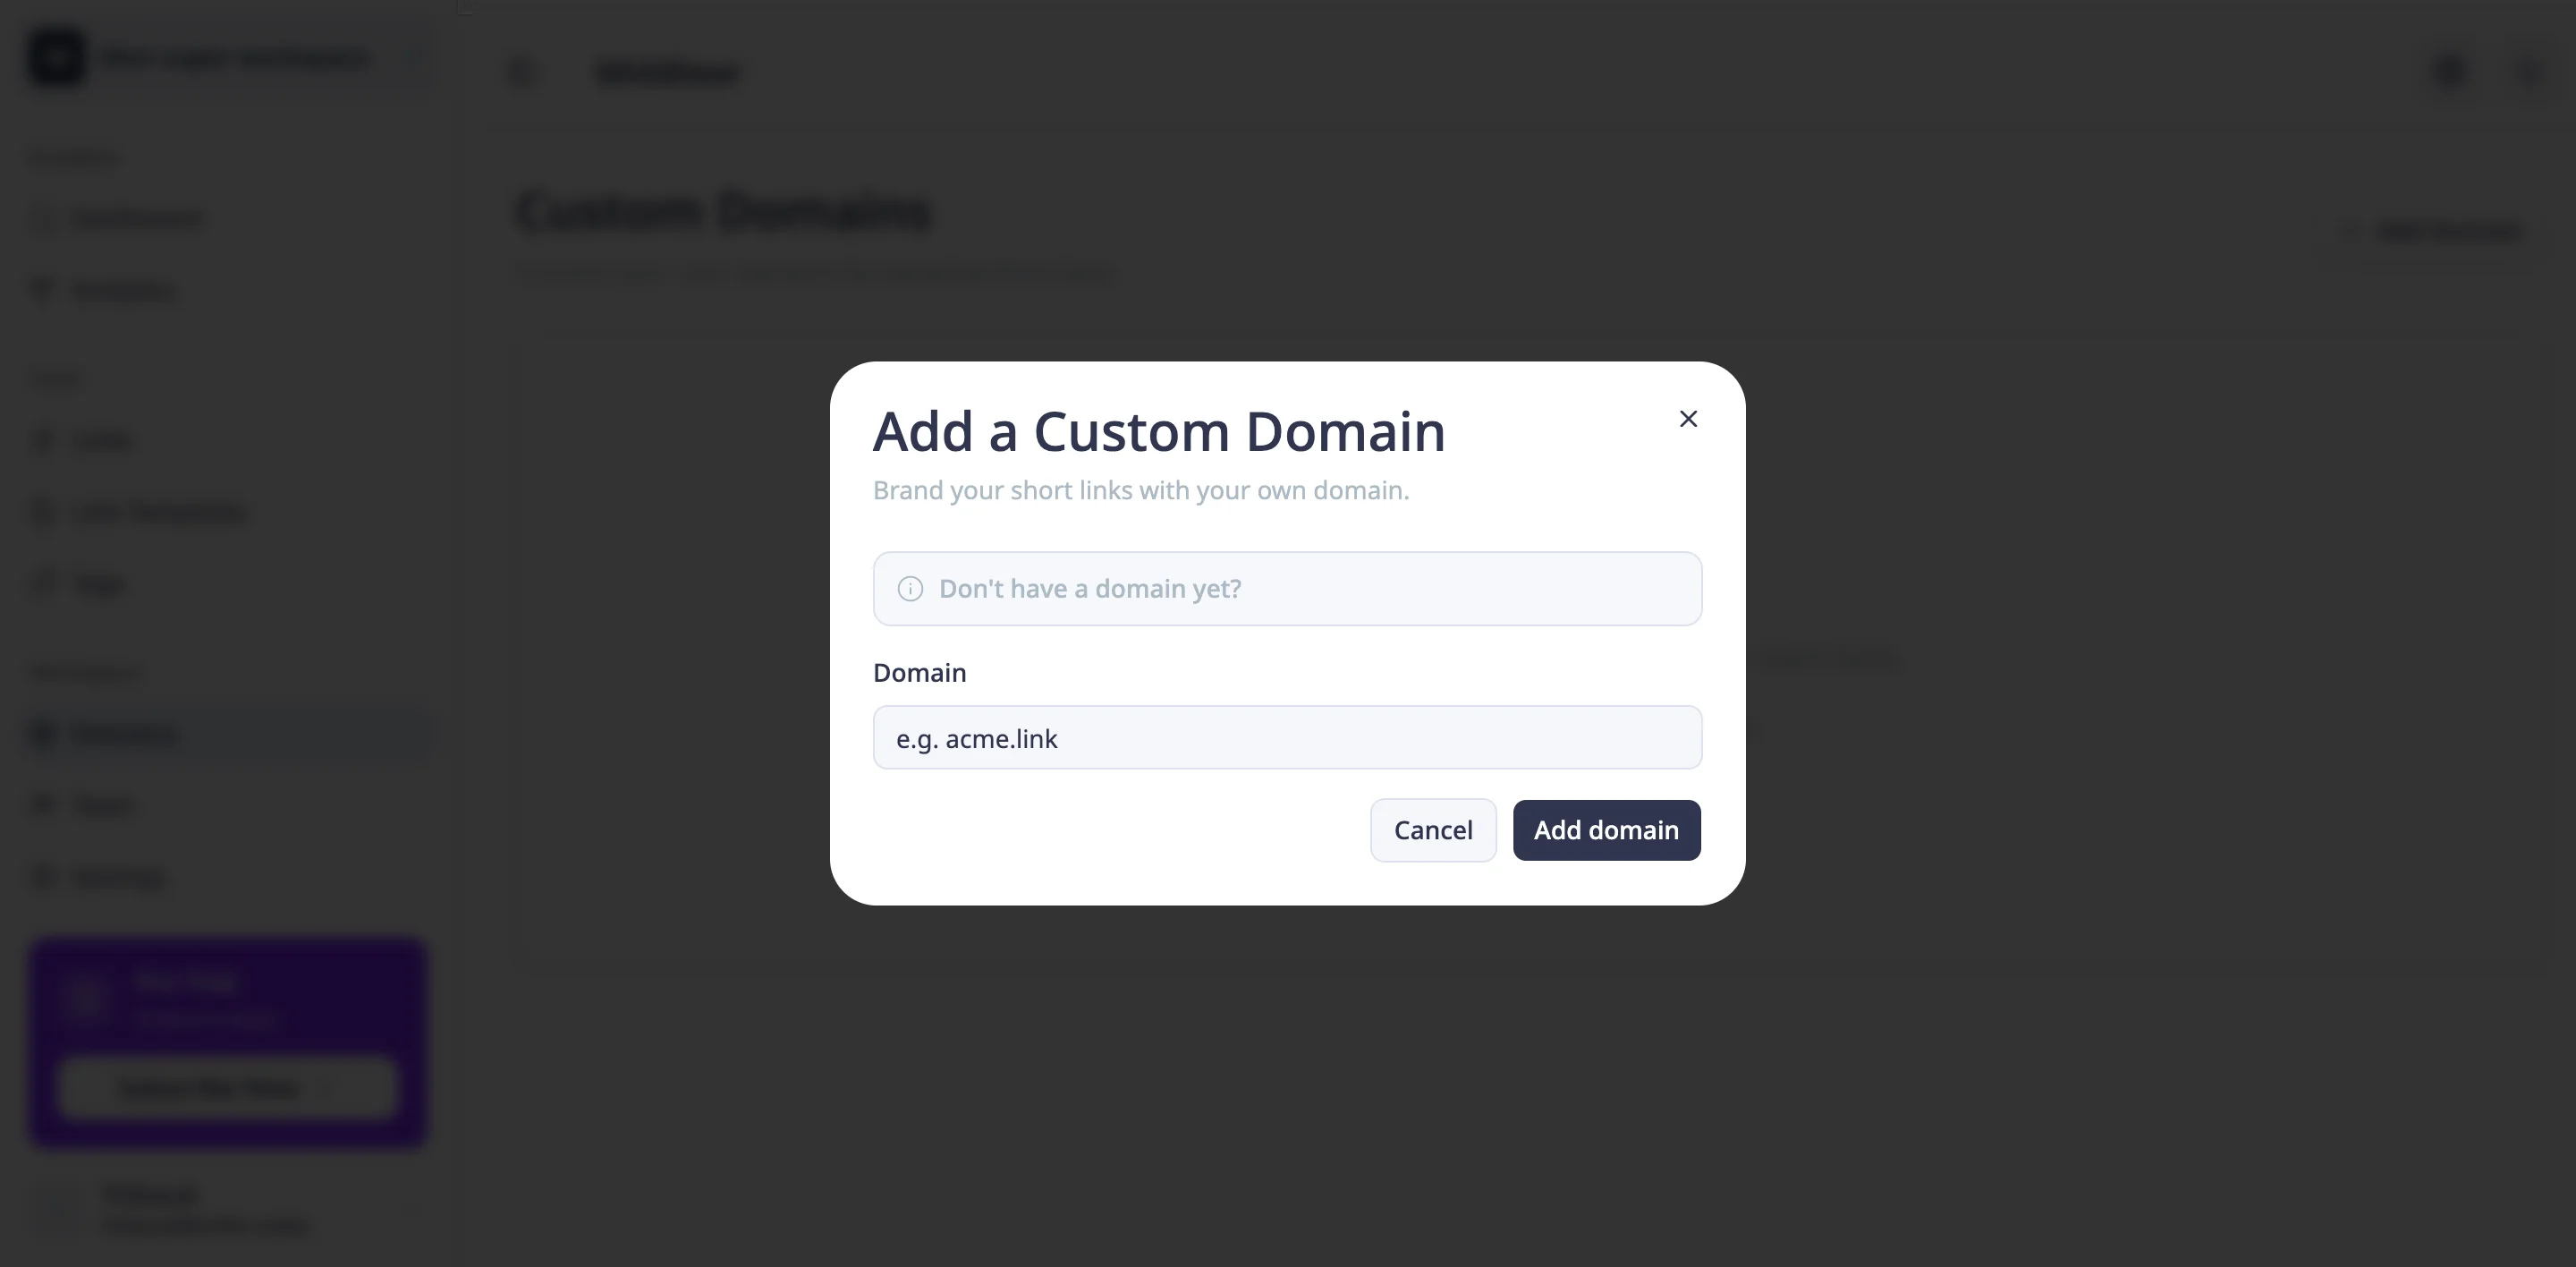
Click the Add Domain button. A modal dialog will appear with a single input field asking for your domain or subdomain.
Type the subdomain you want to use for your short links — for example, go.yourcompany.com. You can use a root domain (yourcompany.com) if you prefer, but a dedicated subdomain is generally the cleaner choice: it keeps your short links separate from your main website and makes DNS configuration more straightforward.
Once you've entered the domain, click Add to continue.
Step 3: Configure your DNS records
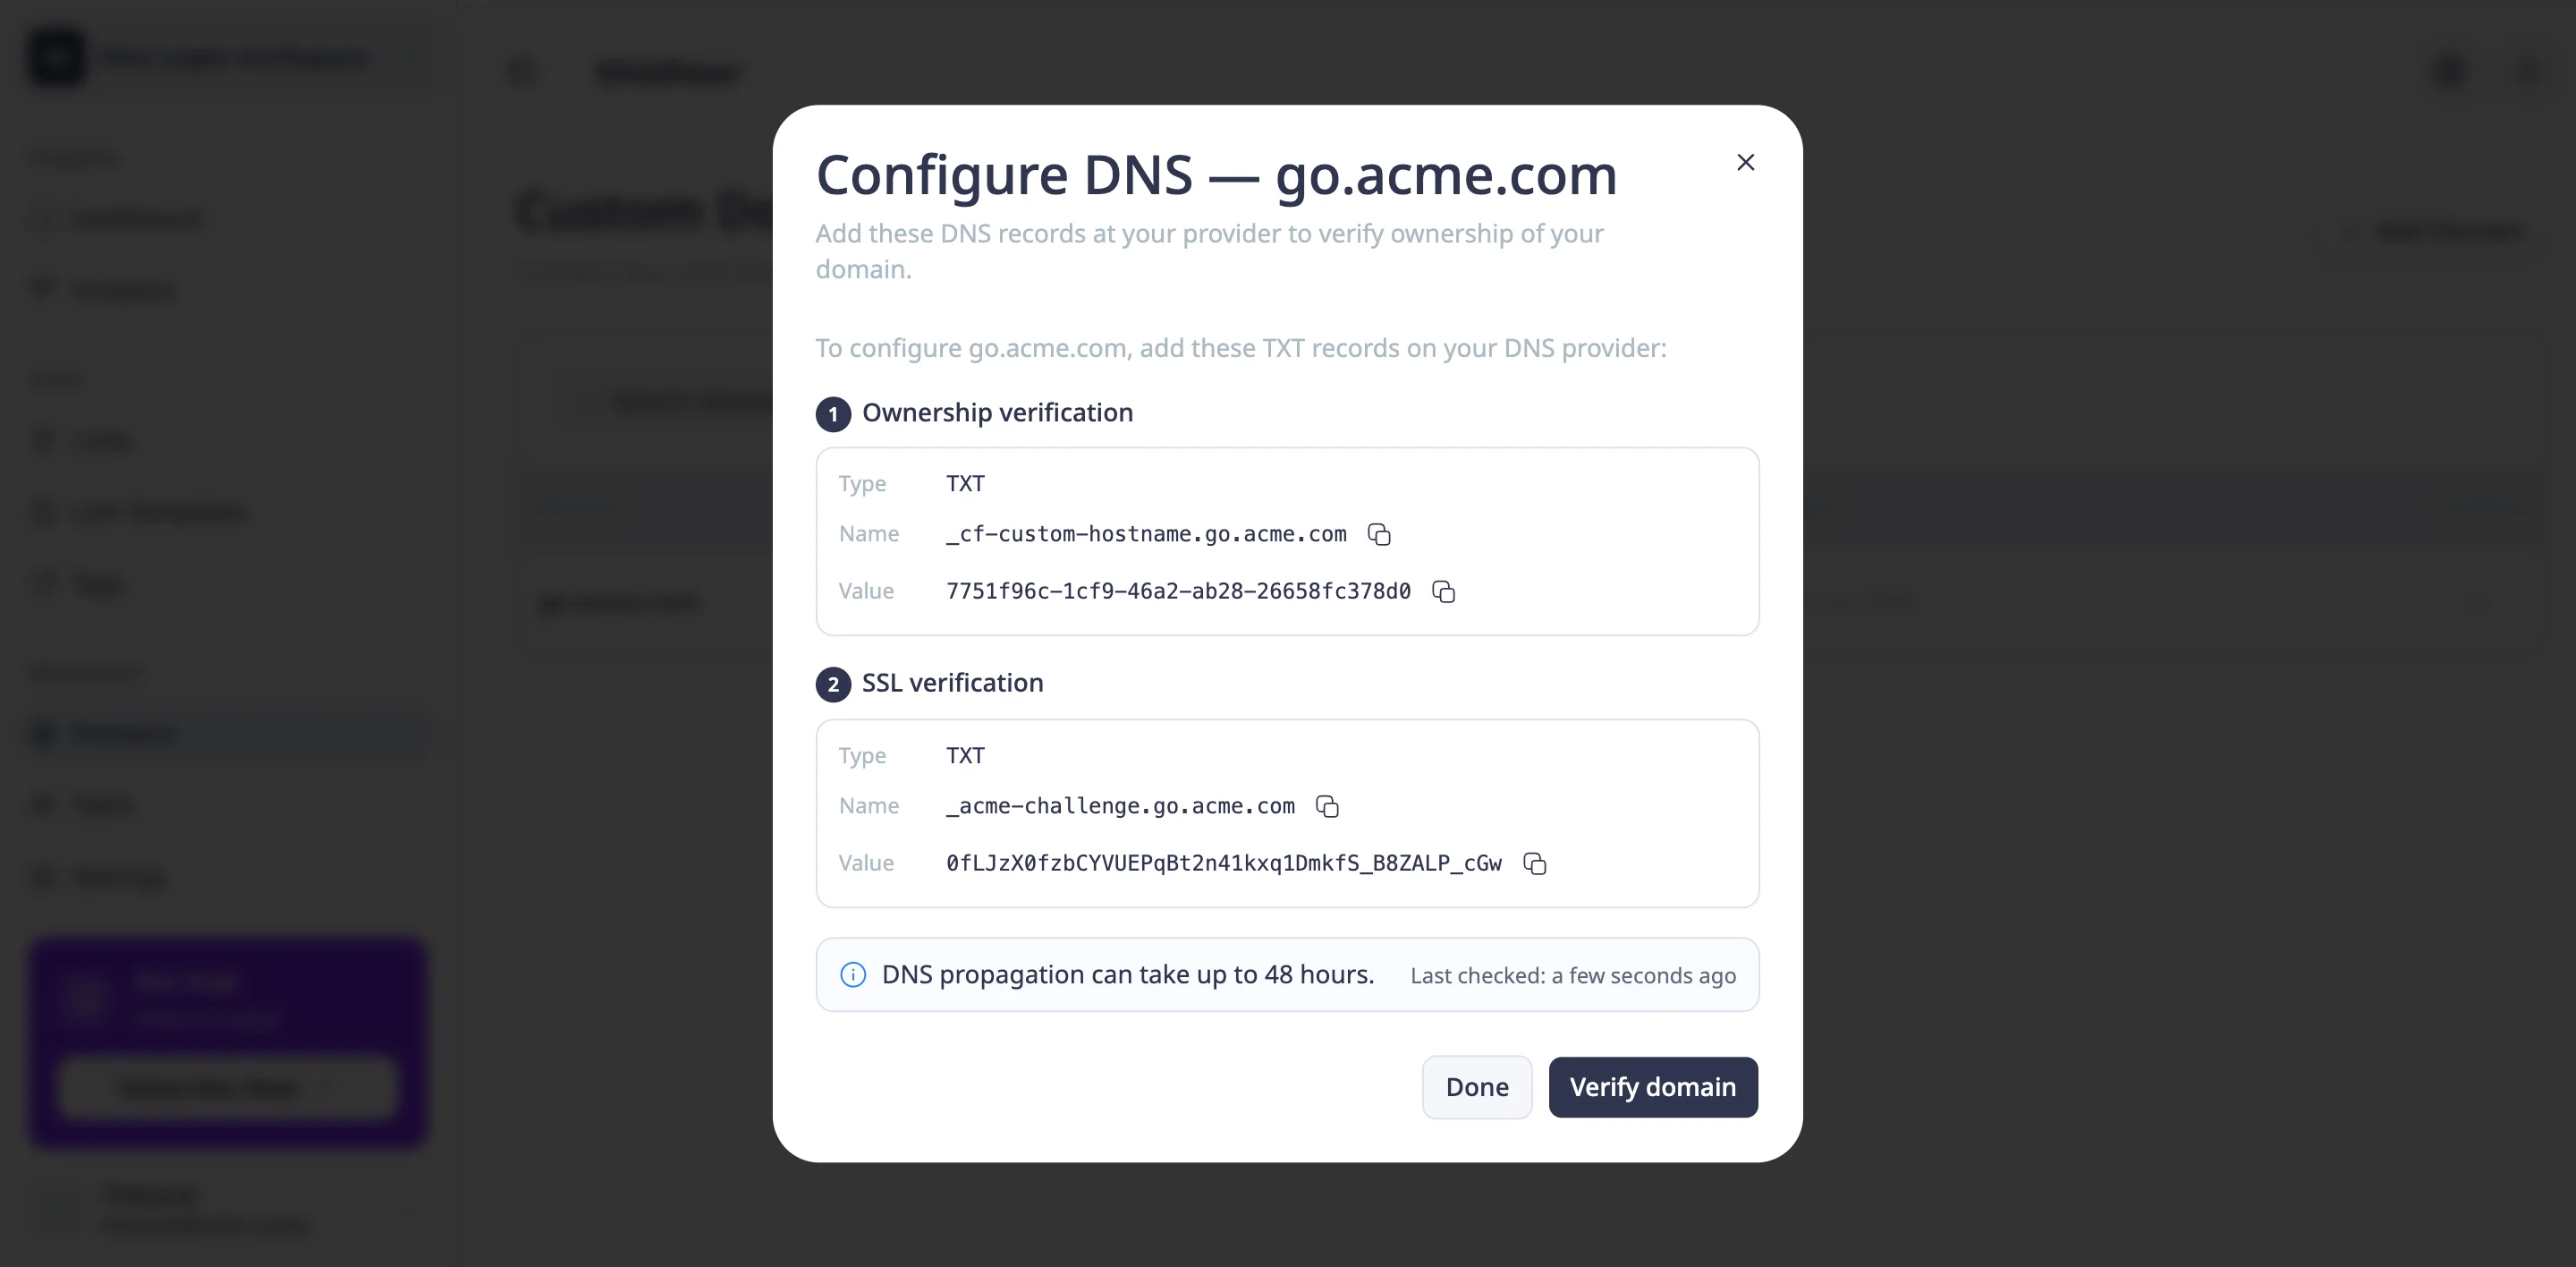
After adding the domain, Middlewr will display the DNS record you need to create at your registrar. You'll see a CNAME record with:
- Type: CNAME
- Name (Host): the subdomain portion (e.g.,
go) - Value (Target): a Middlewr hostname (e.g.,
cname.middlewr.com)
What is a CNAME record? A CNAME (Canonical Name) record is a type of DNS entry that points one domain name to another. Instead of pointing directly to an IP address, it says "resolve this subdomain the same way you'd resolve that other domain." This lets Middlewr route traffic from your custom domain to its infrastructure without you needing to update anything if Middlewr's servers change.
Here's how to add the record in the most common registrars:
- Cloudflare: Log in, select your domain, go to DNS → Records, click Add record, set type to CNAME, enter the name and target, and save. Make sure the proxy status is set to DNS only (grey cloud), not proxied.
- GoDaddy: Go to My Products → DNS, click Add, choose CNAME, fill in the host and points-to fields, and save.
- Namecheap: Under Domain List, click Manage next to your domain, go to Advanced DNS, add a CNAME record with the host and value provided.
Once you've added the record, return to Middlewr.
Step 4: Verify your domain
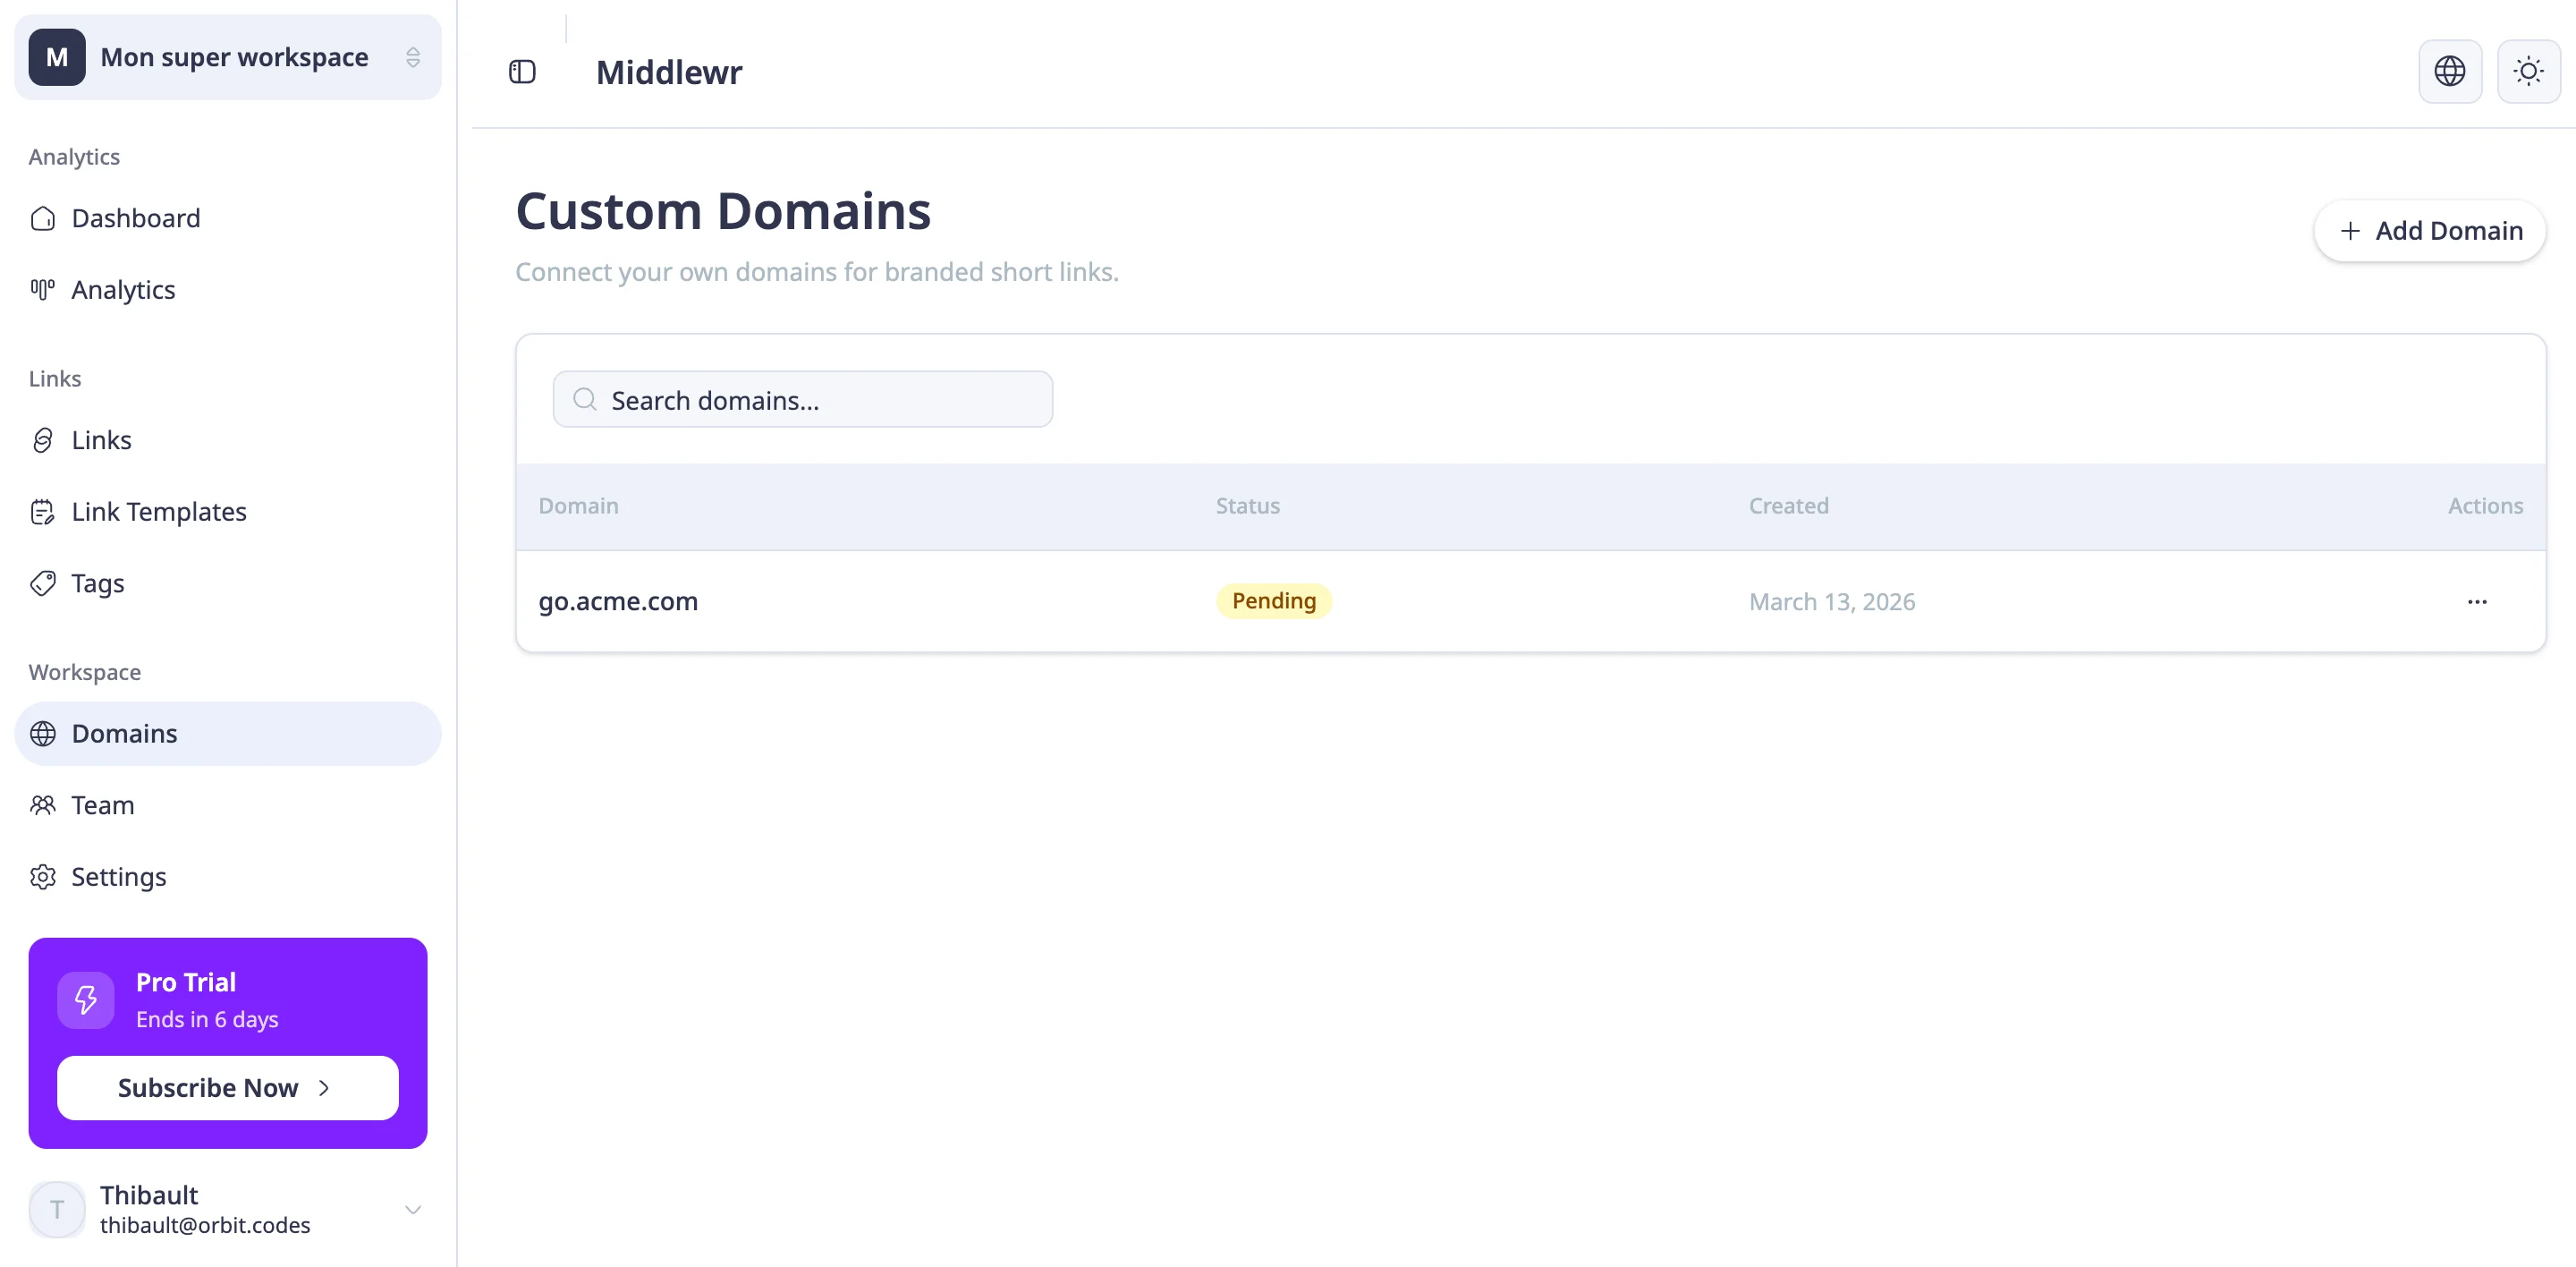
Back in Middlewr on the Domains page, your domain will show a Pending verification status. Middlewr automatically checks DNS propagation at regular intervals — you don't need to click a "verify" button.
DNS propagation is the time it takes for your new record to spread across DNS servers worldwide. In most cases it happens within a few minutes, but it can technically take up to 48 hours depending on your registrar and the TTL (Time to Live) value set on the record. The vast majority of setups resolve in under 15 minutes.
Once Middlewr detects the correct CNAME record, the status will change to Active — your domain is verified and ready to use.
Tip: If your domain stays in "Pending" after 30 minutes, double-check the CNAME name and target in your registrar — a small typo is the most common cause of verification failures. Also ensure the record is set to DNS-only if you're using Cloudflare.
Step 5: Use your custom domain
Once your domain is active, it becomes available as an option whenever you create or edit a link. Open the Links page and click Create Link. In the link creation form, you'll now see a Domain dropdown — select your custom domain from the list.
Any link created with your custom domain will use it for all redirects. For example, a link you configure as go.yourcompany.com/launch will redirect visitors directly to your destination URL, carrying your brand all the way through.
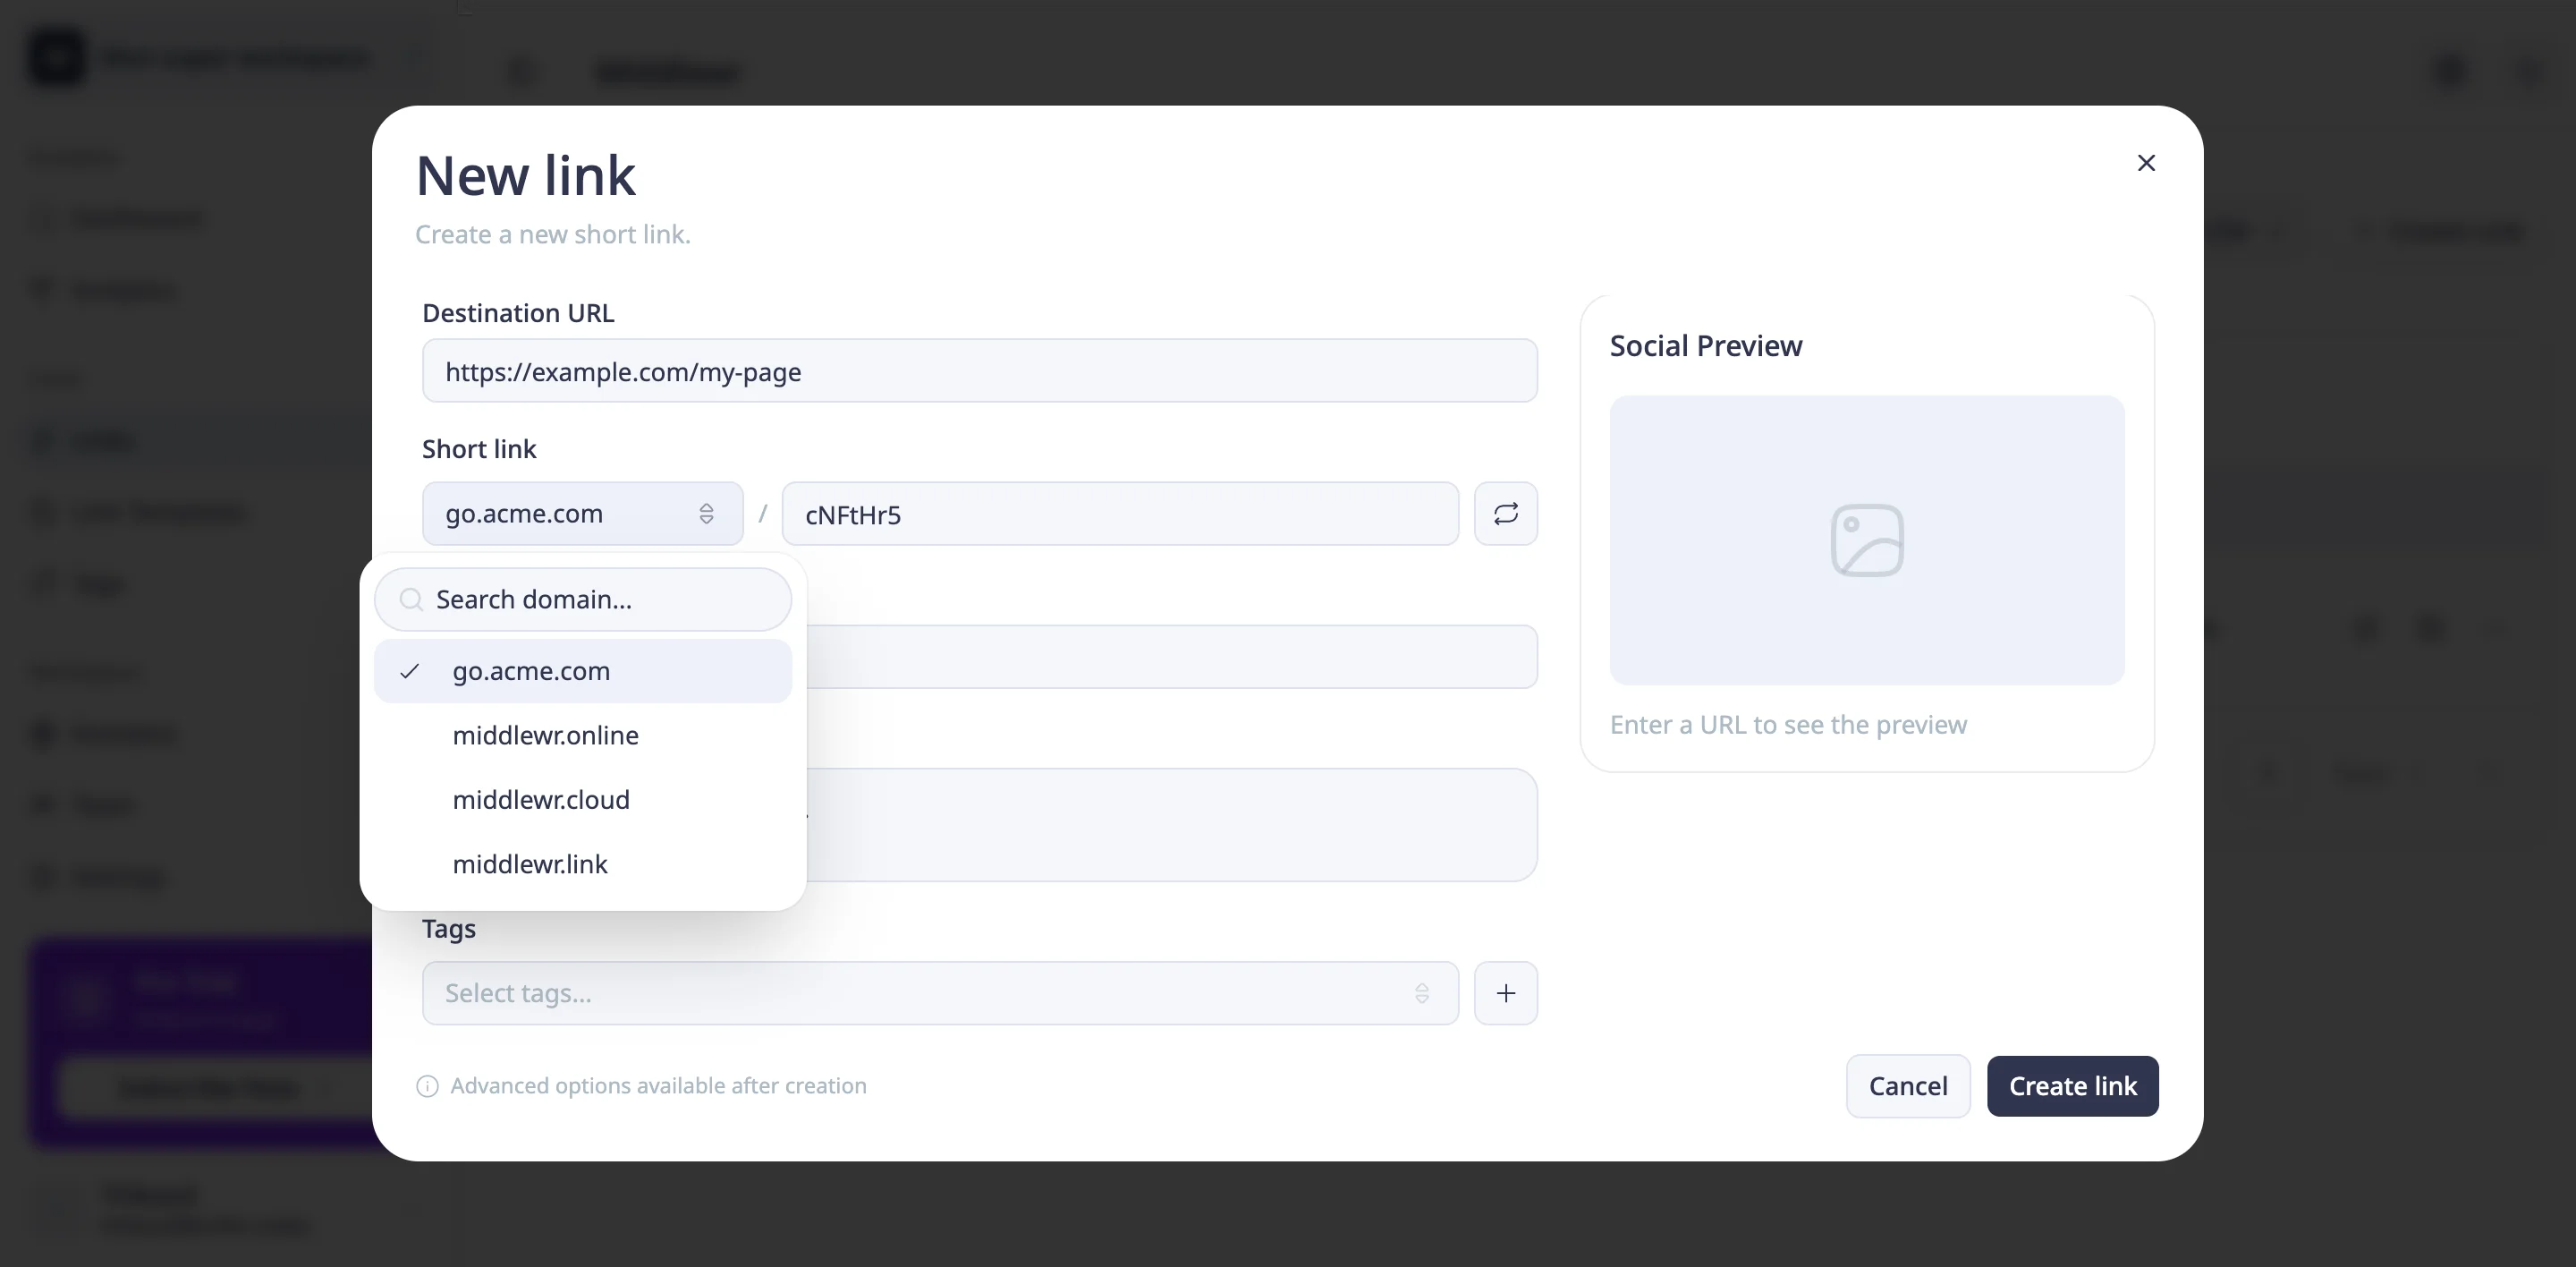
Existing links are not affected — they continue to use whatever domain they were created with. Only newly created (or updated) links will use the new domain when you select it.
Going Further
Now that your custom domain is set up, here are some related articles to help you get more out of Middlewr:
- Create your first link
- Organize your links with tags — categorize and filter your branded links for easier management
- Generate and customize QR codes — turn your branded short links into scannable QR codes for print and events